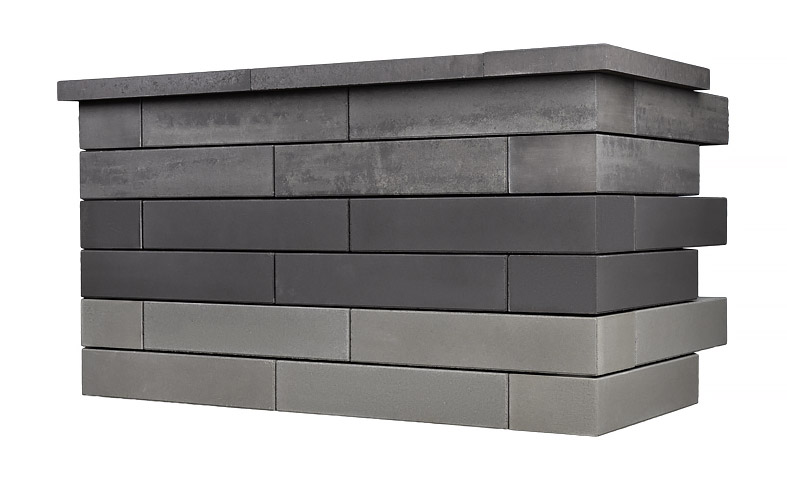
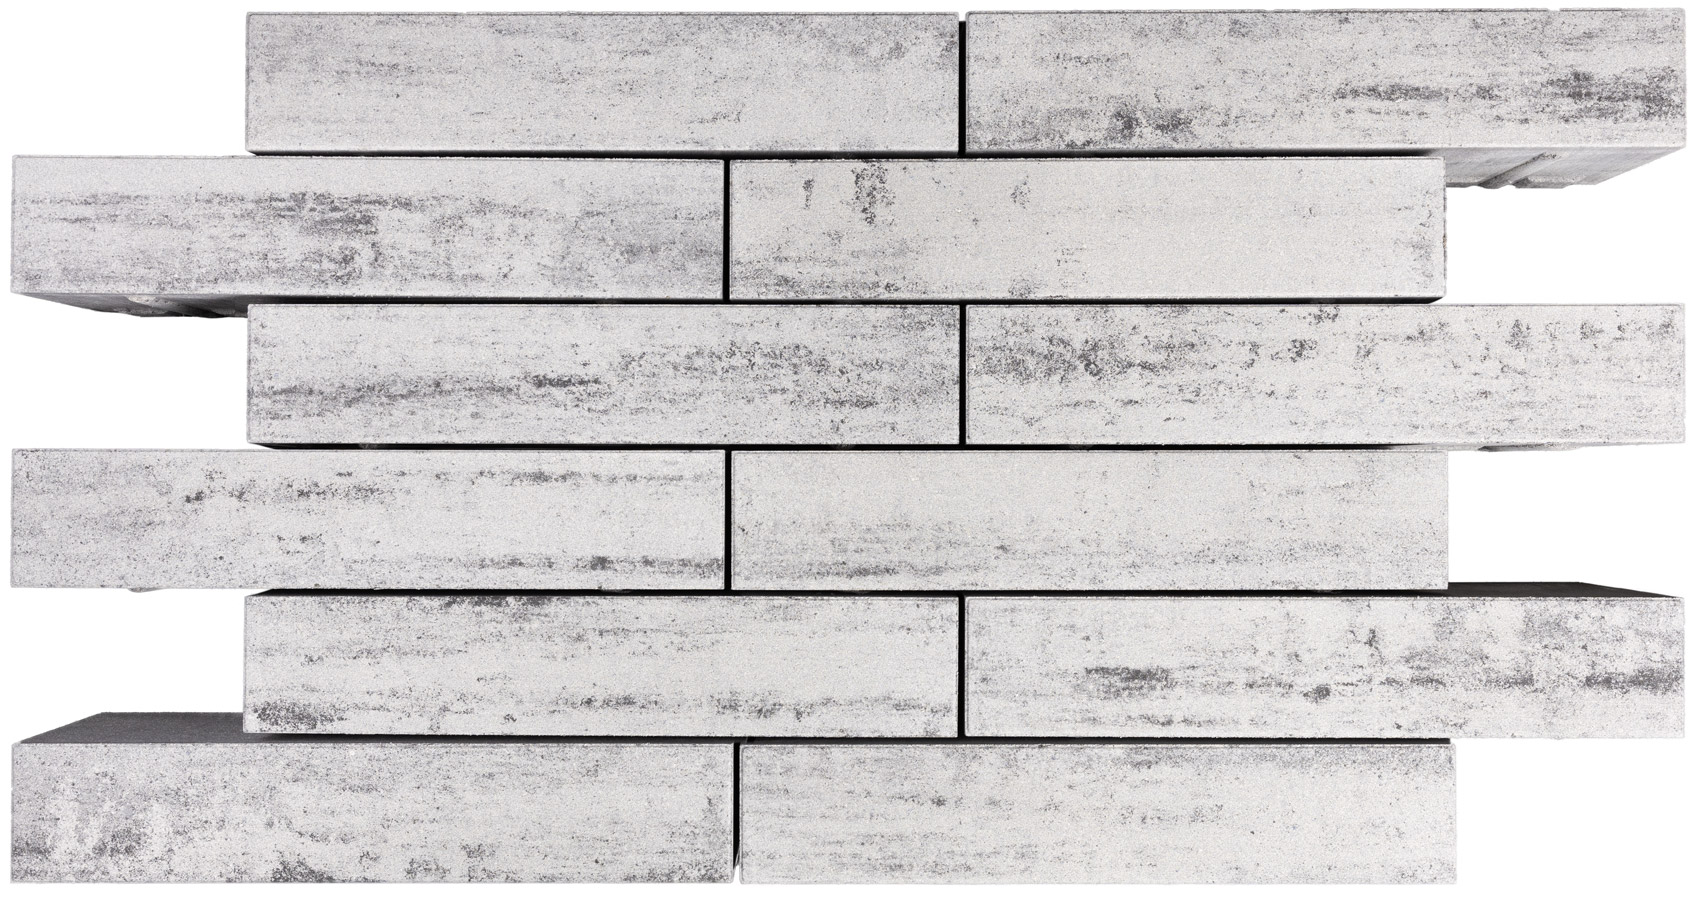
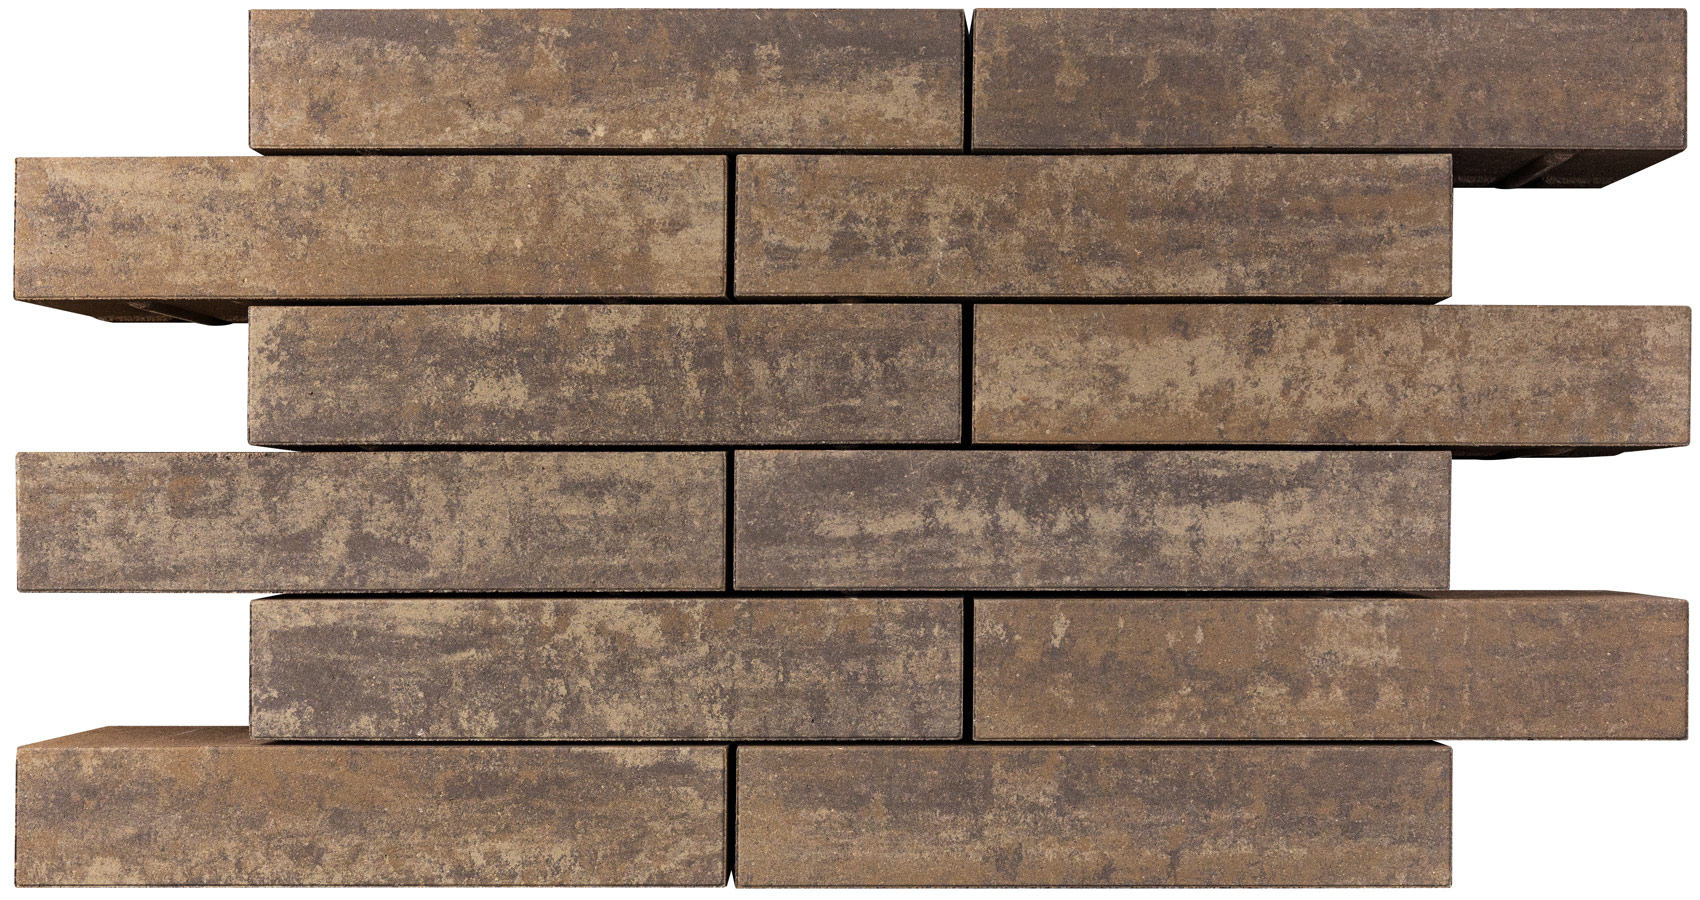
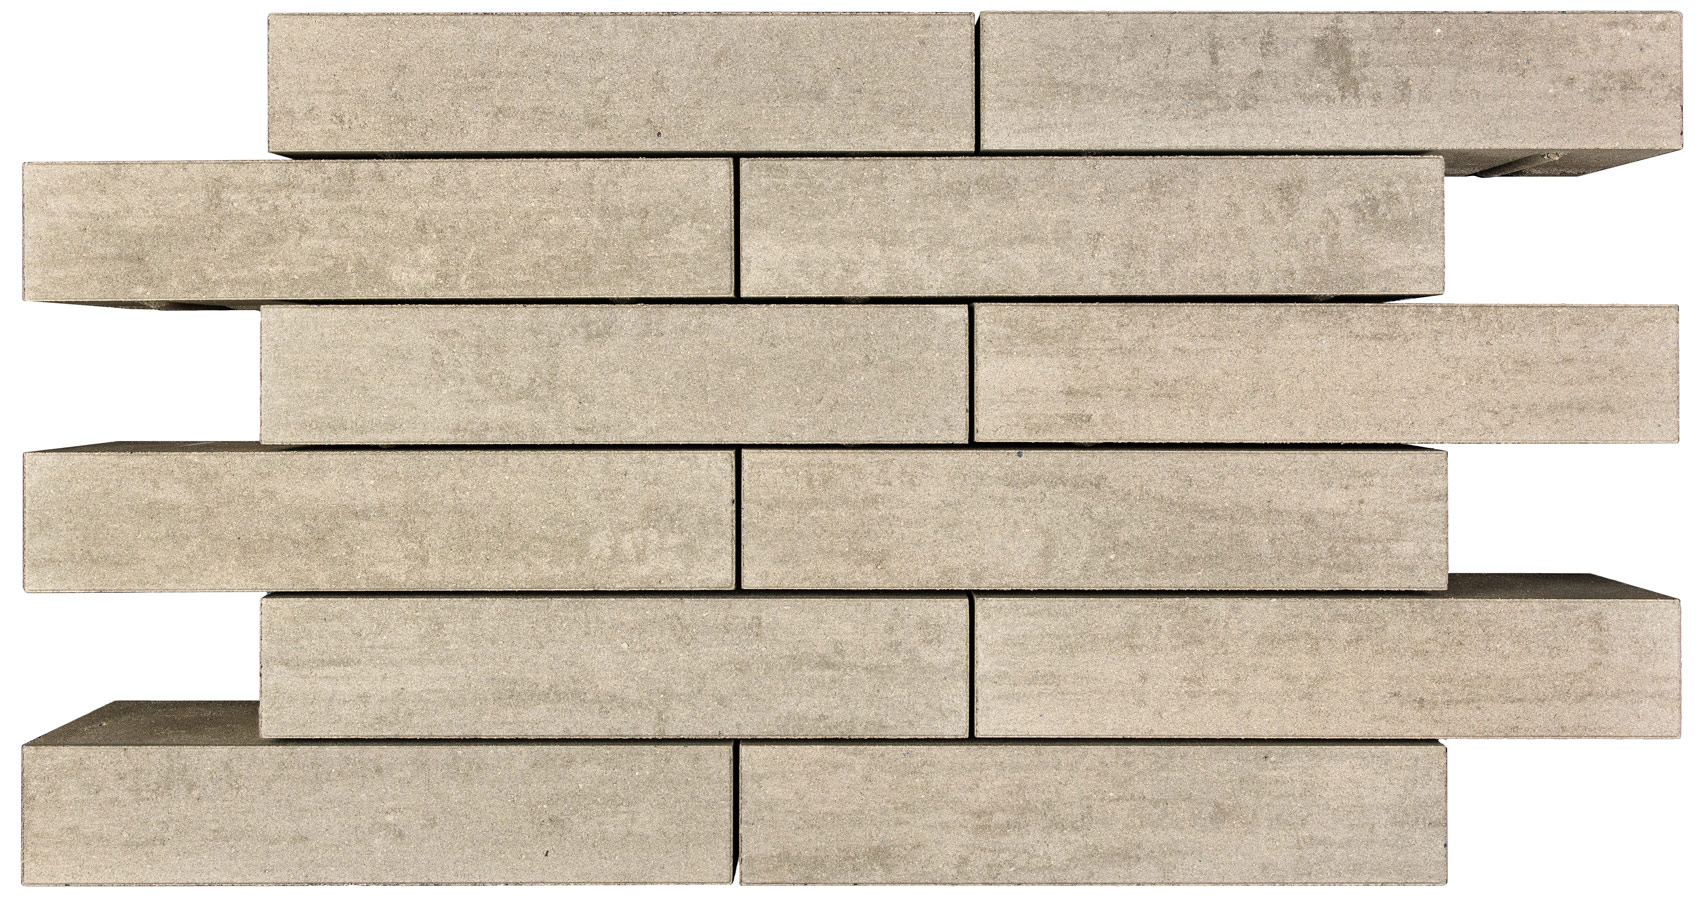
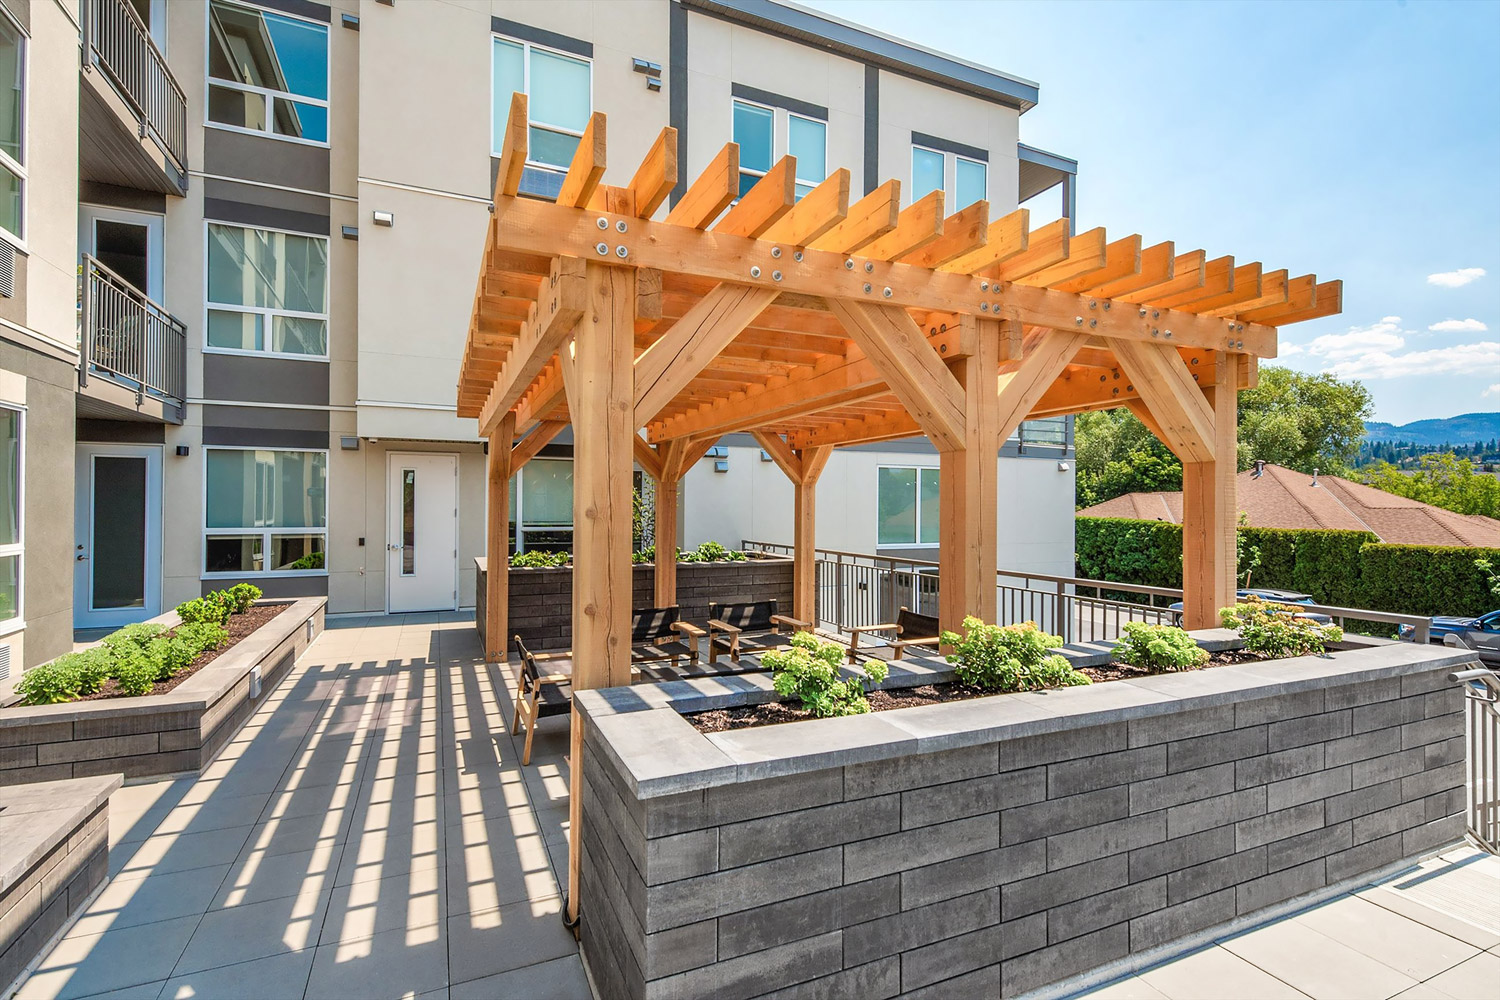
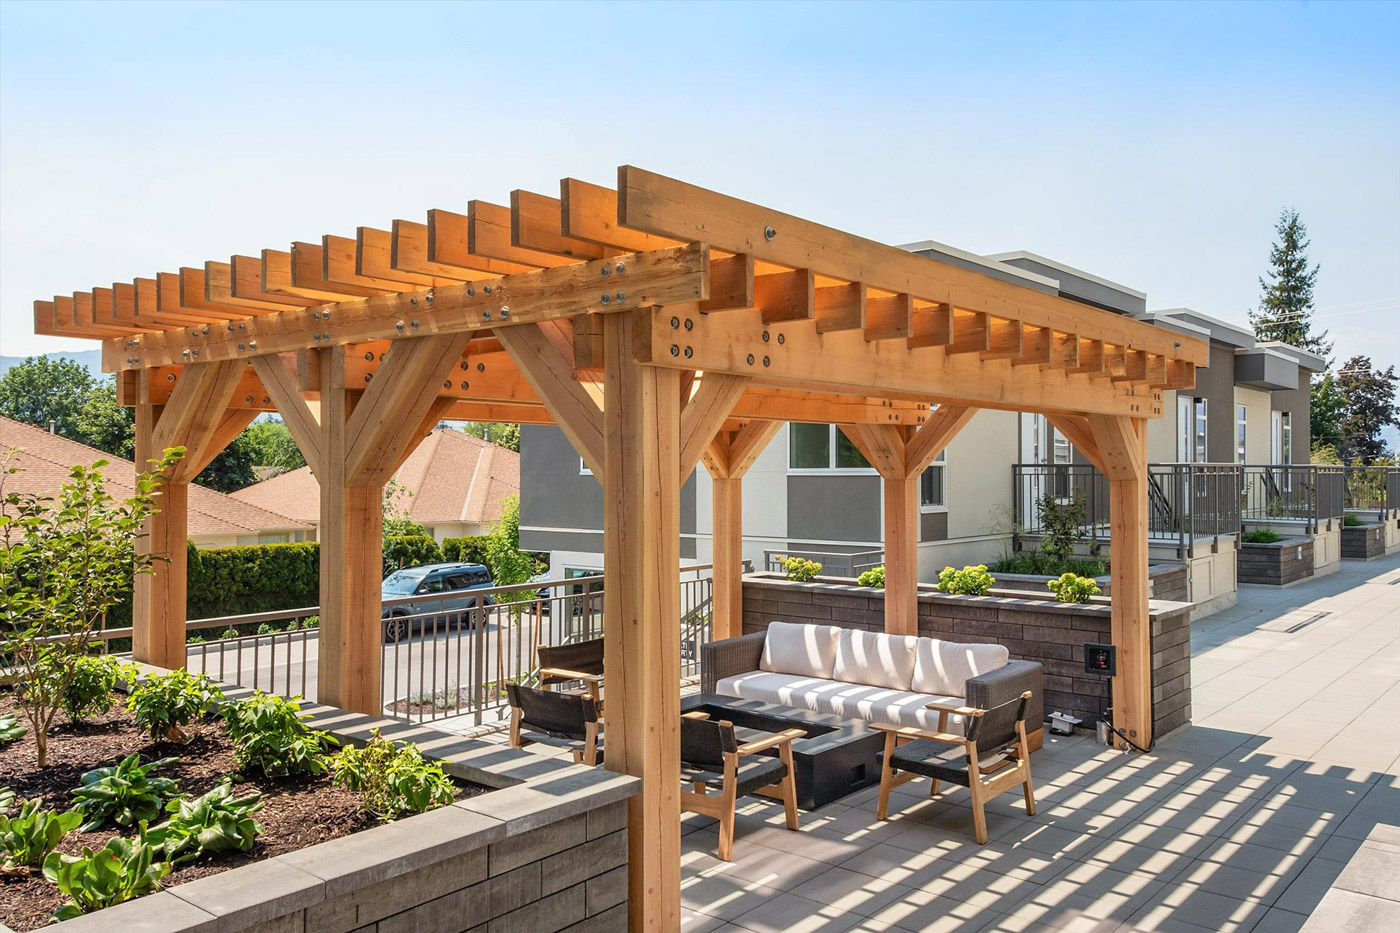
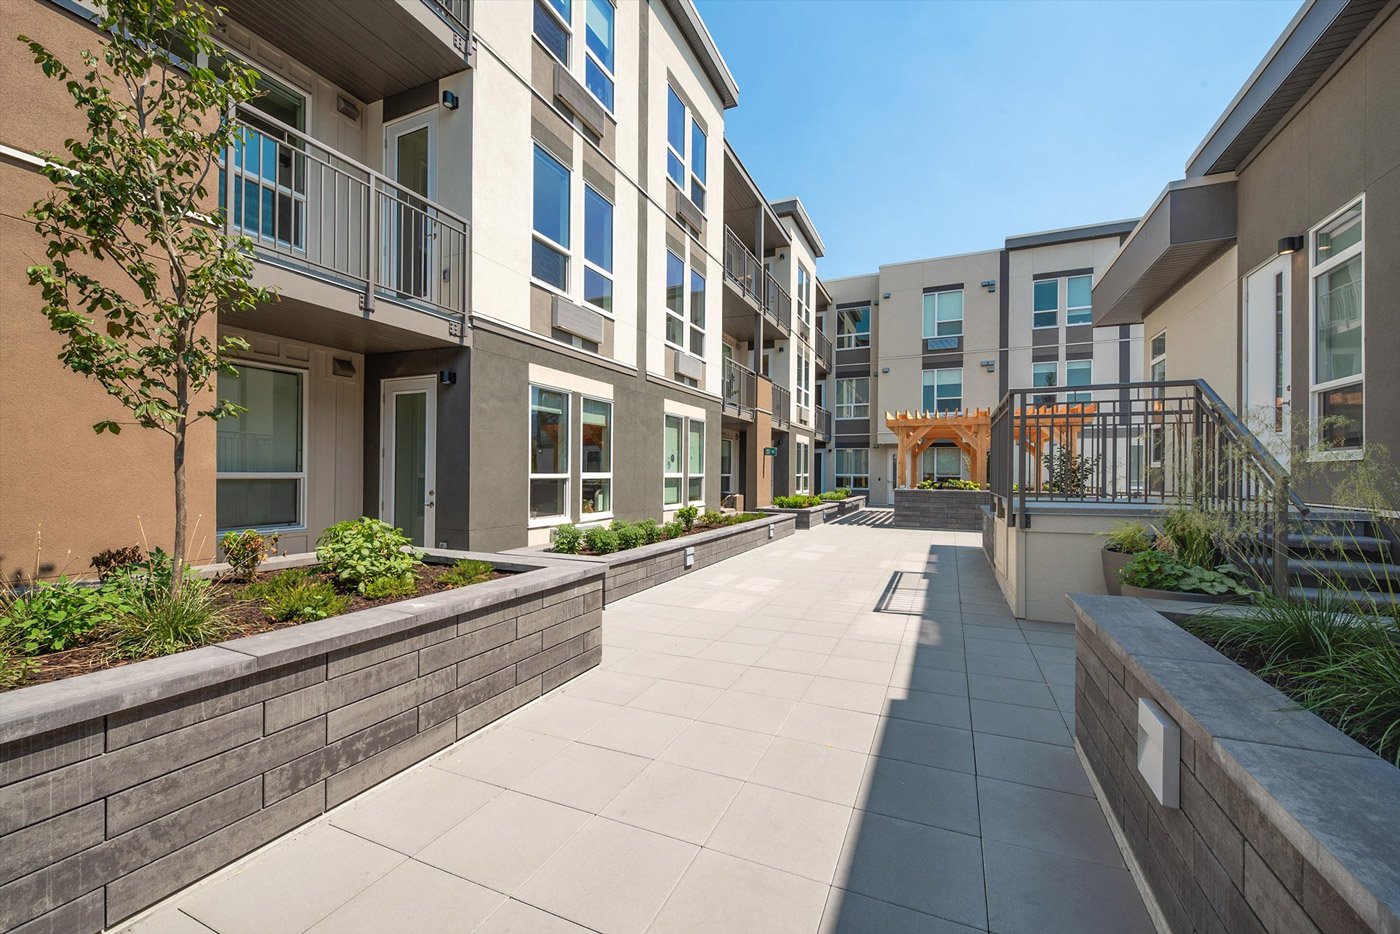
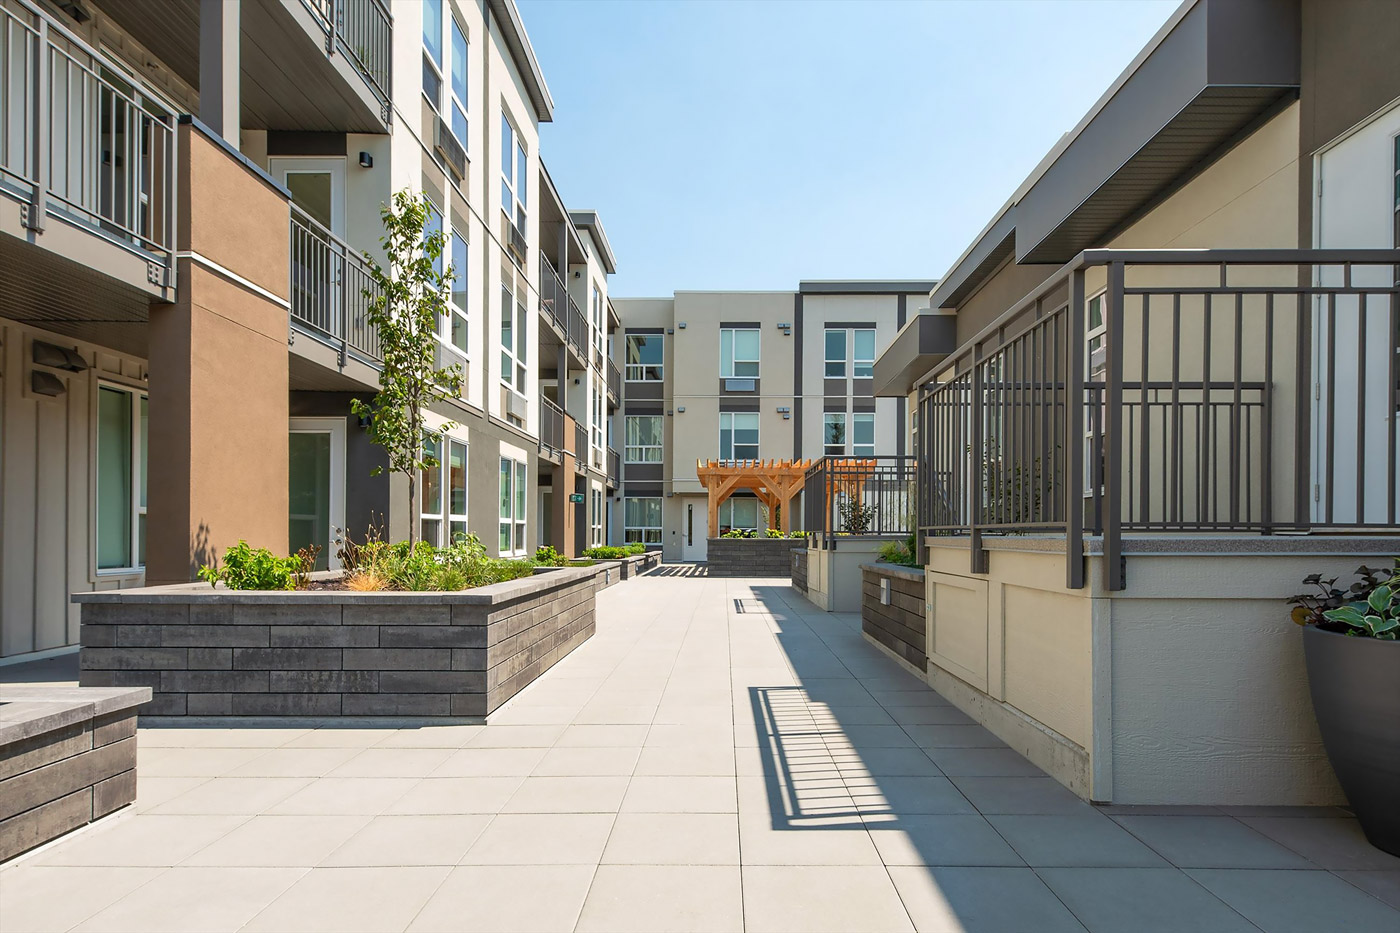
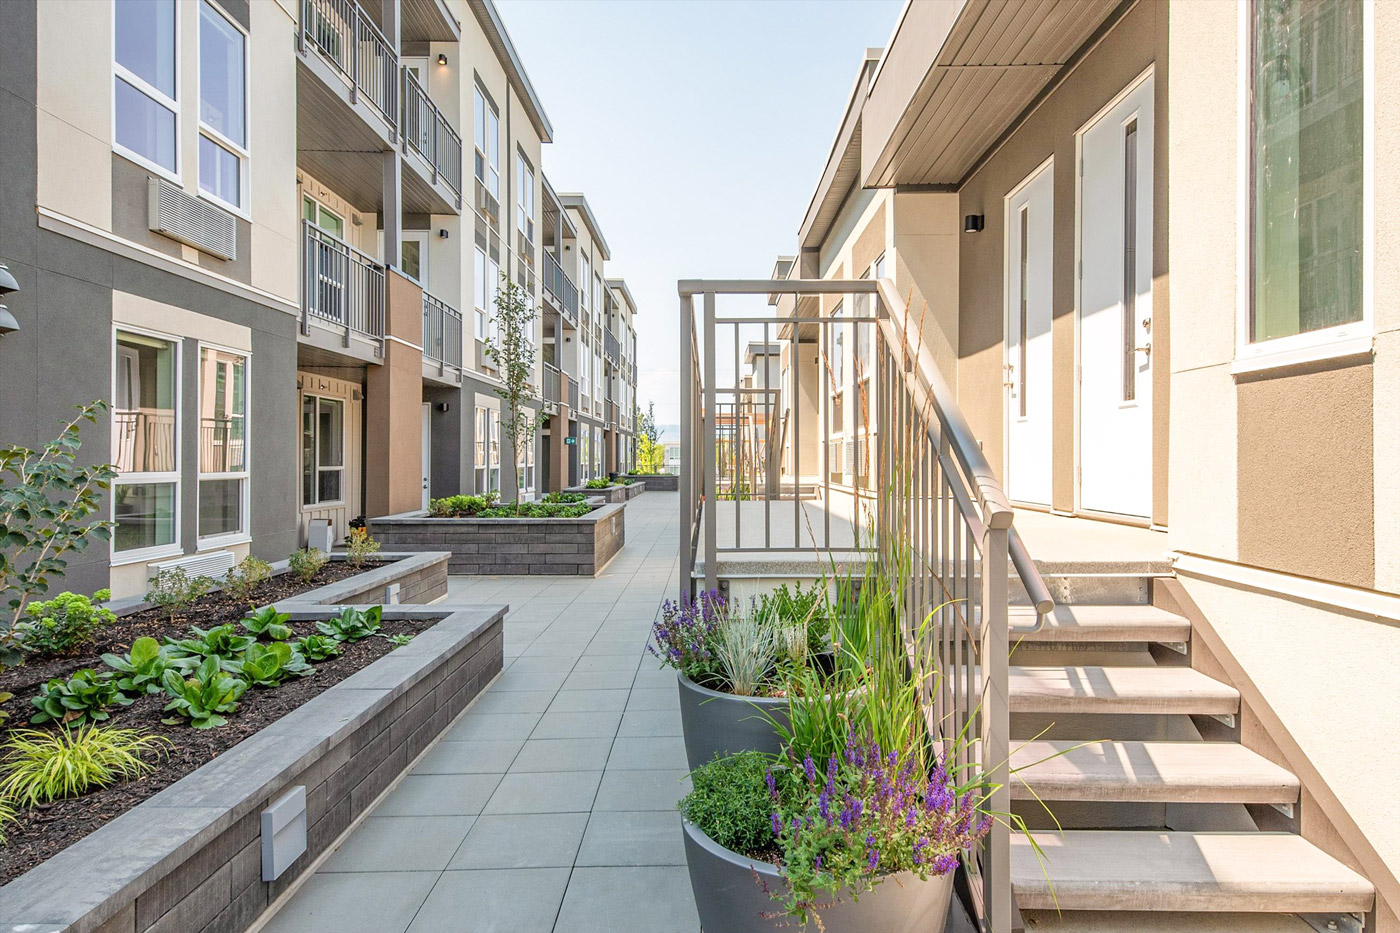
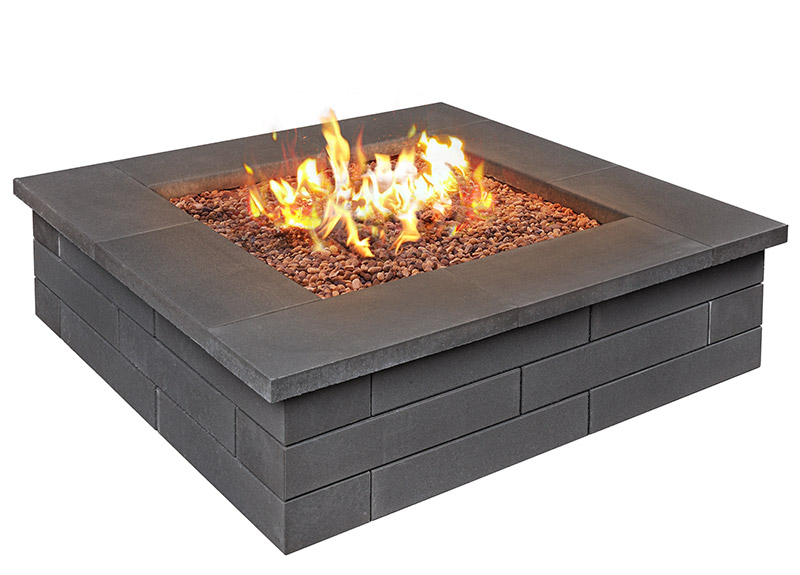
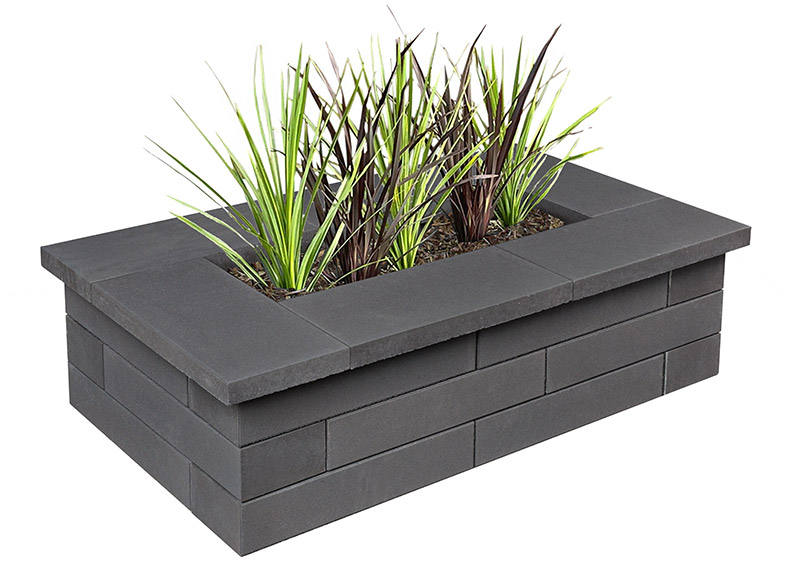
Skip to content

Dorado Wall

Premium Finish Face Mix Technology

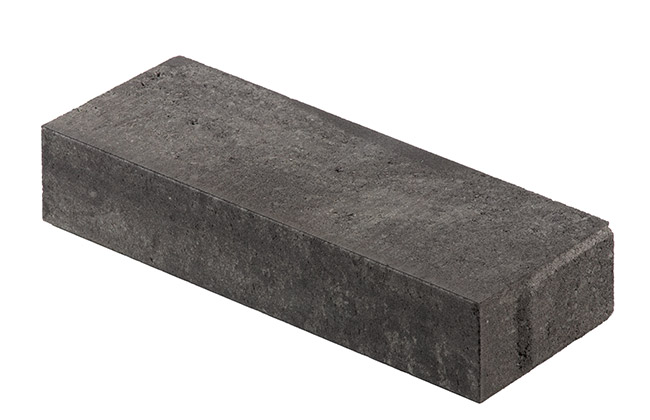
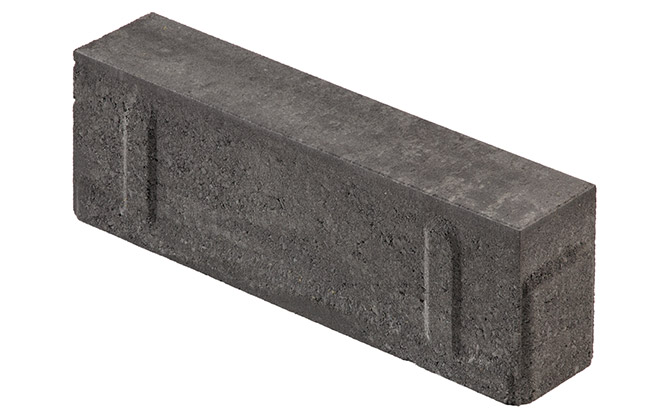
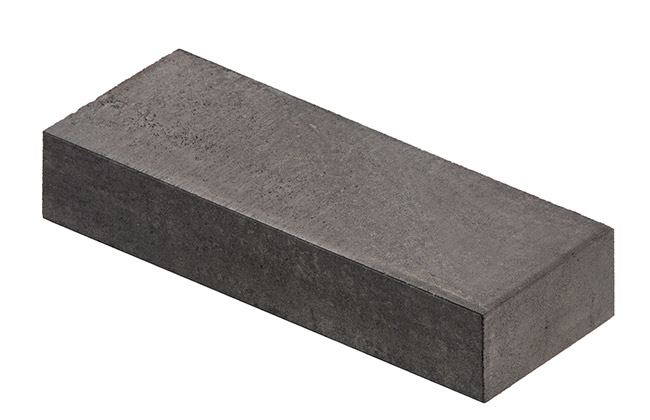
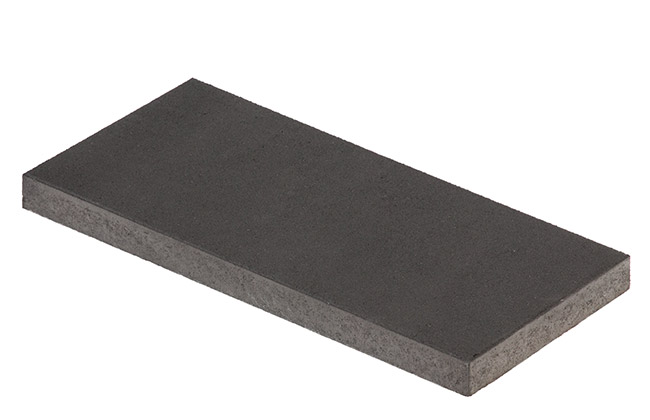
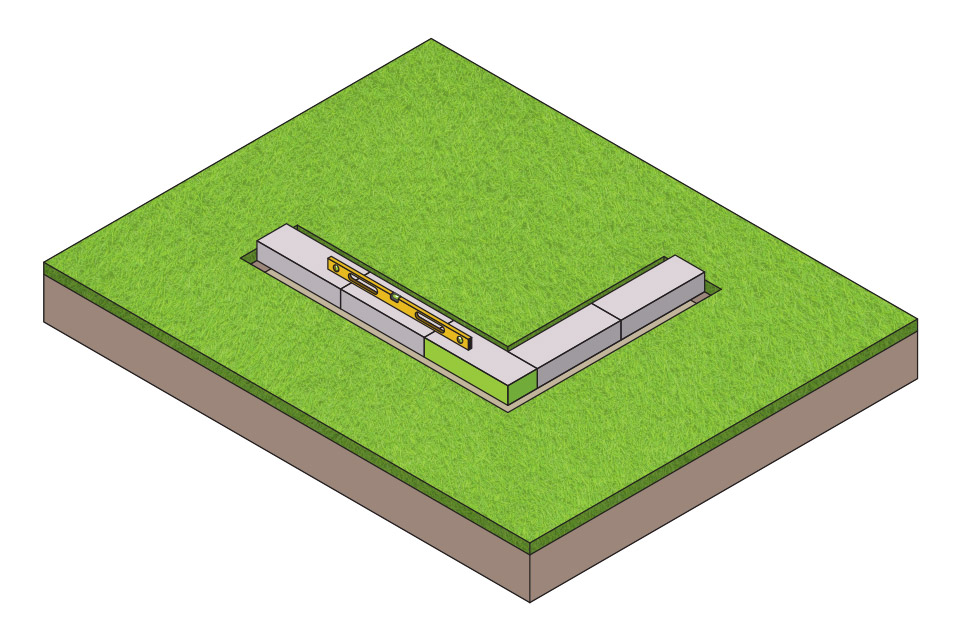
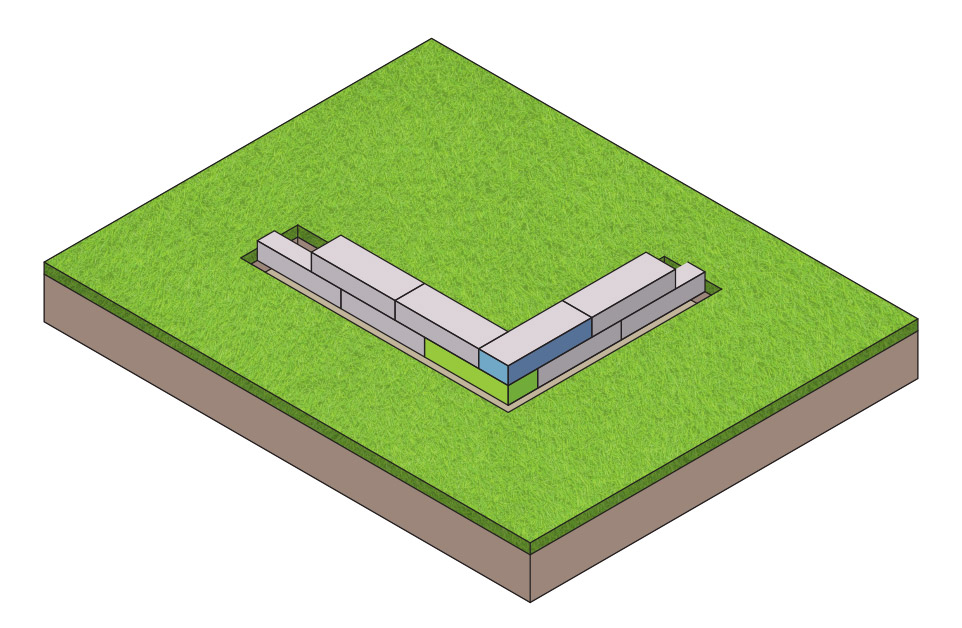
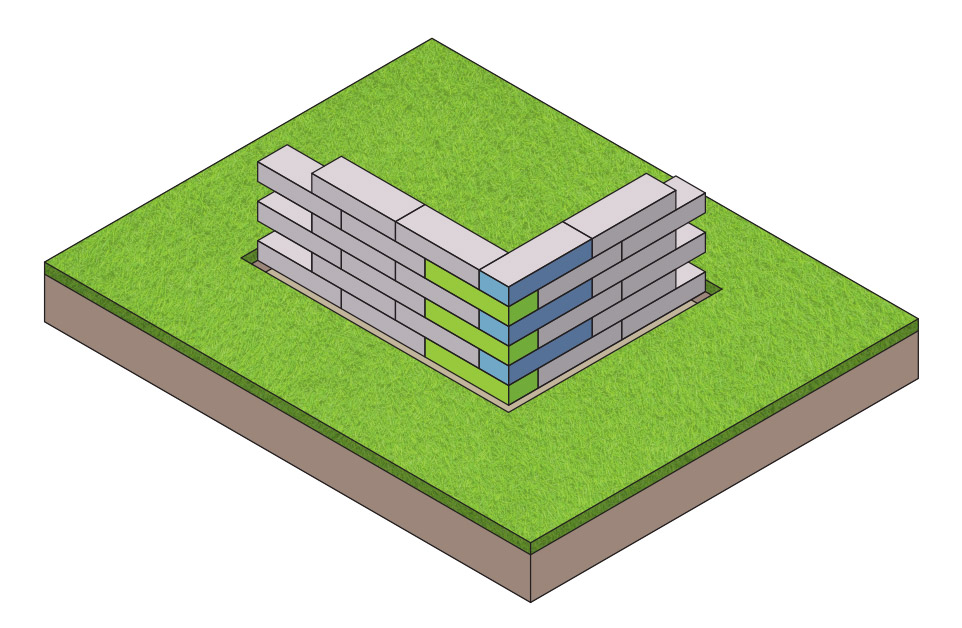
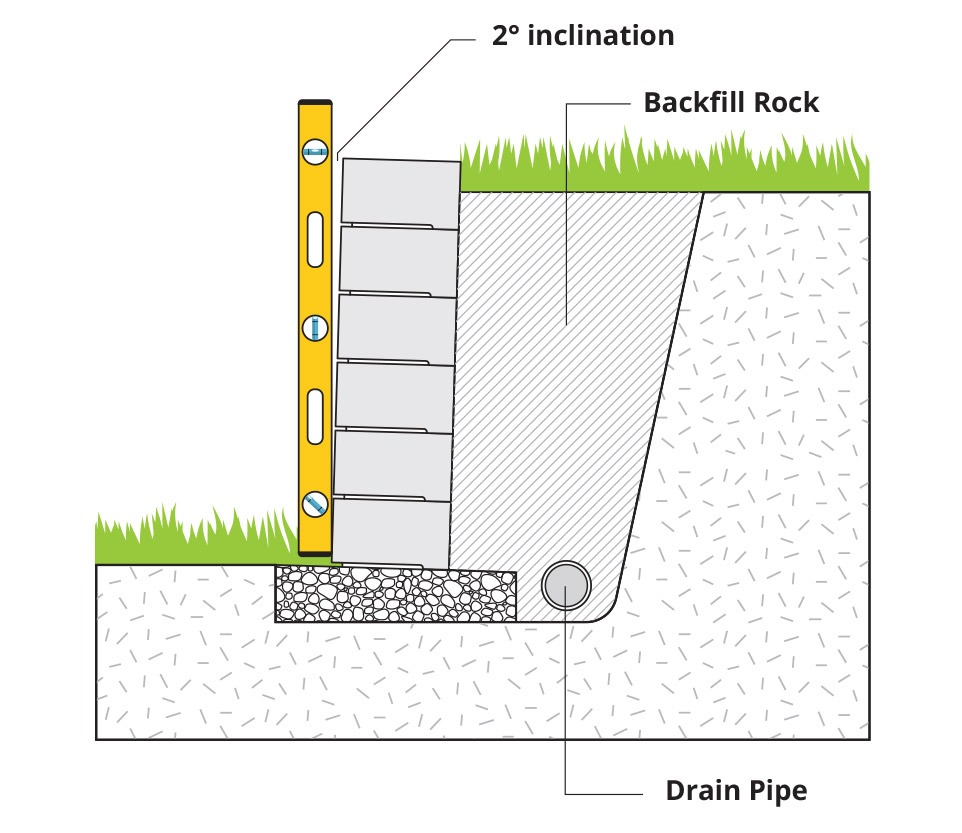
The Dorado Wall is the perfect accompaniment to any modern design with its clean straight lines and rich premium finish face mix. The lineal appearance of the Dorado Wall with its zero setback is unique in a garden wall unit. Installation is simple as there are no pins, lips, or lugs. The Dorado Wall units are adhered to each other using a concrete adhesive attaining a maximum height of 30 inches.
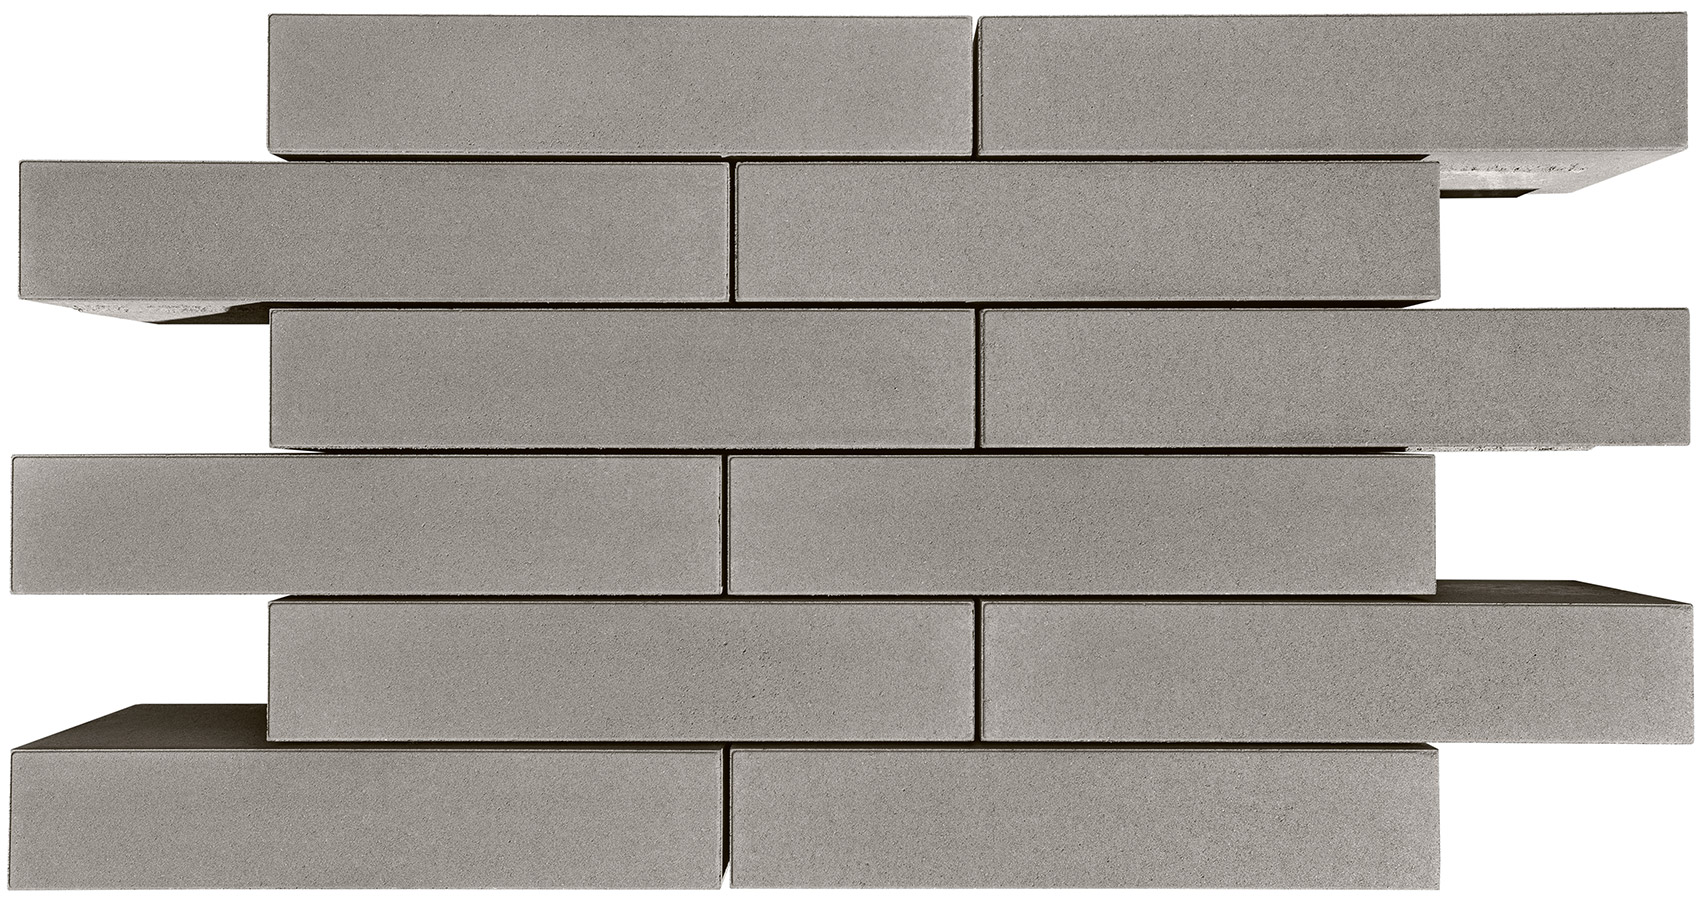
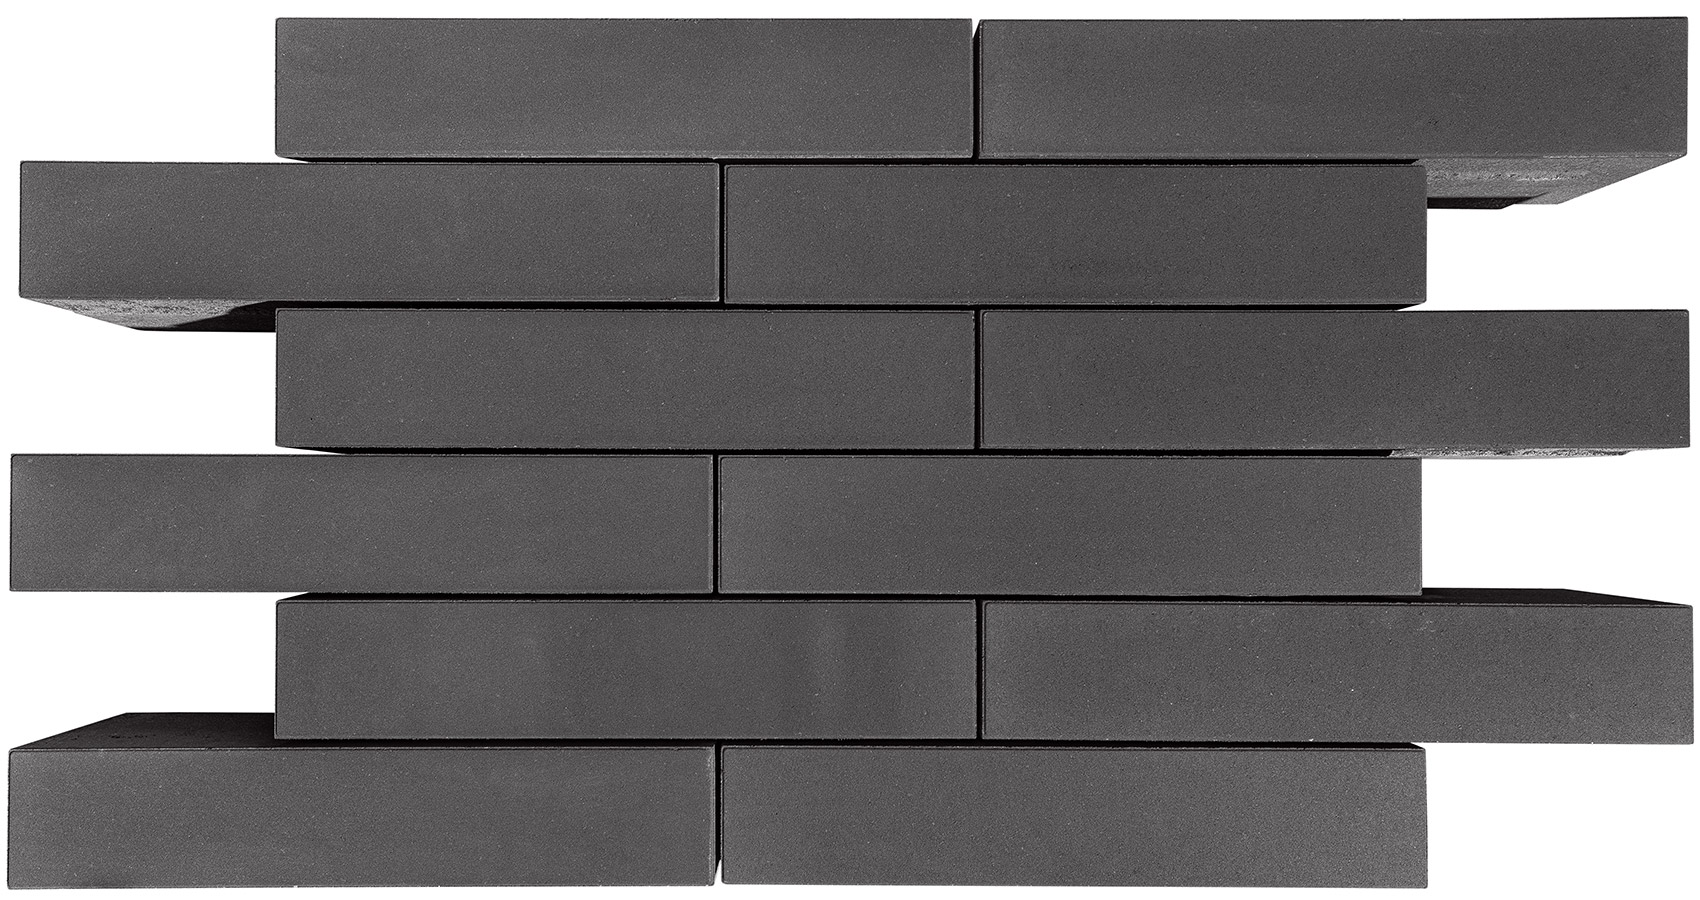
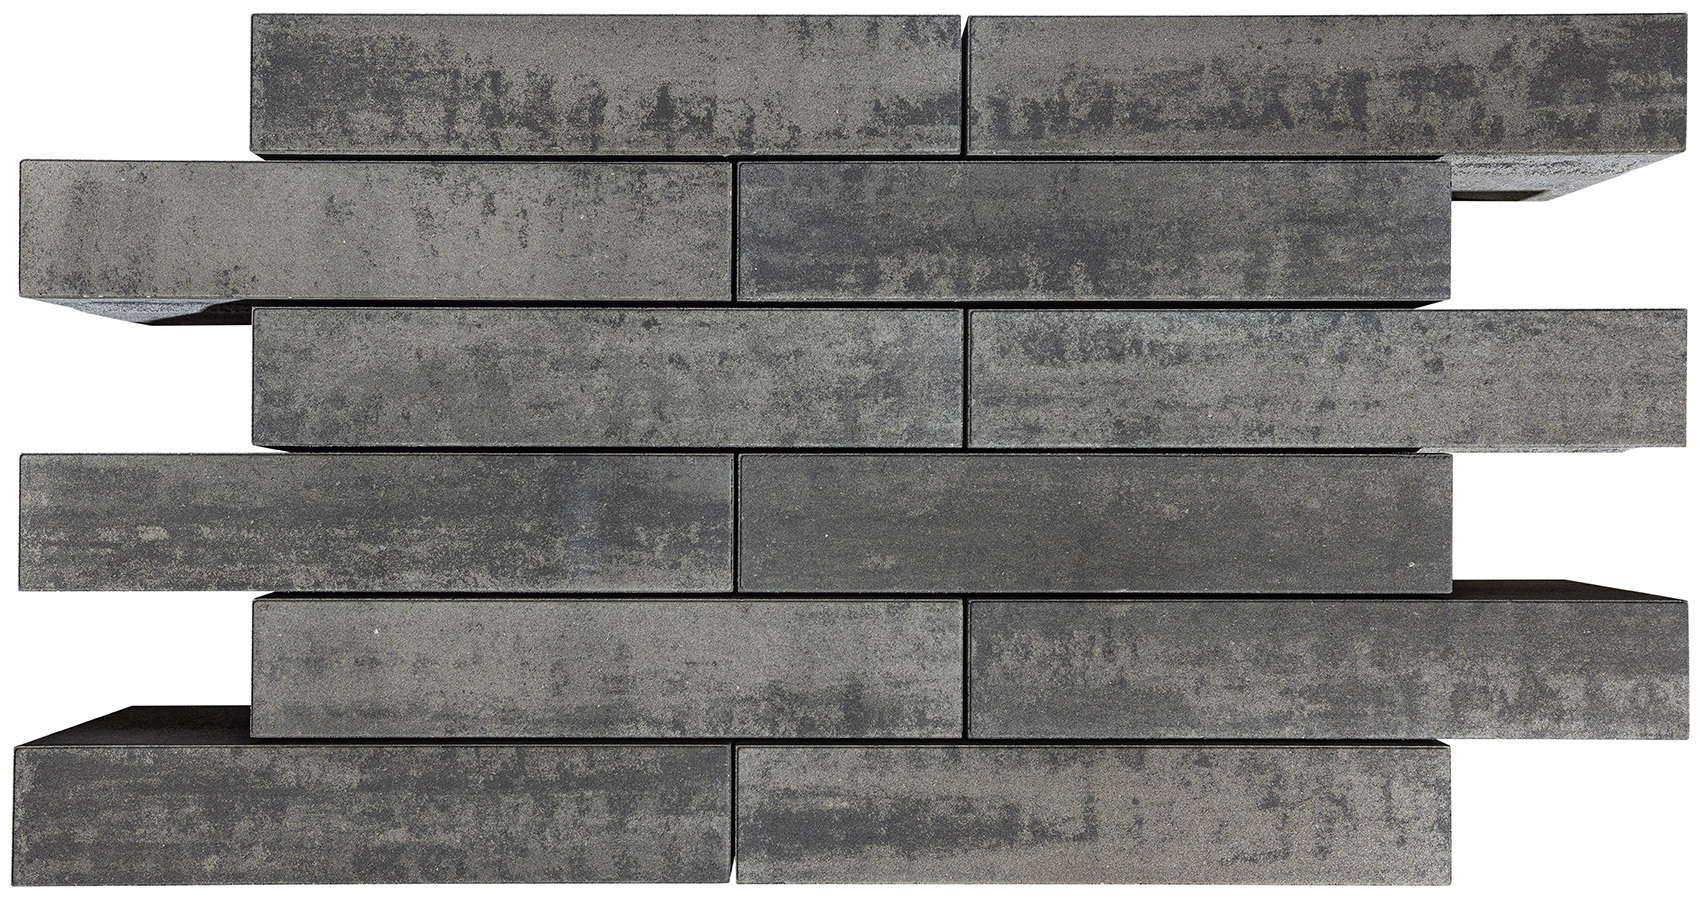
Dorado Wall

Image shown: Winter Sky

RECOMMENDED APPLICATIONS

Garden Walls
Garden Walls
Pillars
Pillars
Edging
Edging

COLOURS:

Colours in photographs are not exact representations, but are given to provide close reference. Measurements and product dimension are nominal.

Dorado Wall Natural
Natural
Dorado Wall Charcoal
Charcoal
Dorado Wall Winter Sky
Winter Sky
Dorado Wall Glacier
Glacier

SPECIFICATIONS:

Individual Sizes:

Blocks Size (in) Pieces per sq.ft. Sq.ft. per Pallet Shipping Weight PCS / Pallet
Standard Unit 8” x 24” x 5” 203mm x 610mm x 127mm 0.75 31.5 1460kg / 3220lbs 42
Corner Unit (L/R) 8” x 24” x 5”  203mm x 610mm x 127mm 0.75 18 835kg / 1840lbs 24
Cap Unit 11” x 24” x 2” 279mm x 610mm x 51mm 0.55 81 907kg / 2000lbs 44

Sizes for standard unit and corner unit include 5 mm Spacer Bars

NOTE: While gluing the Dorado Wall units It is recommended to use tapered shims (typically 3/16” to 1/4”) to maintain the position of the blocks with removal after the glue has set.

INSTALLATION PATTERNS:

Dorado Wall Fire Pit
56" x 56" Fire Pit / Planter
Standard Units Cap Units Corner Units (Left/Right)
Top Layer 8
Third Layer 4 4 L OR 4 R
Second Layer 4 4 R 4 L
First Layer 4 4 L 4 R
Completed Dimensions with Cap 59 “L x 59” W x 16 ¾” H
Interior Cap Dimensions 37” L x 37” W
Interior Wall Dimensions 40” L x 40” W


Dorado Wall Planter
56”x 32” Fire Pit / Planter
Standard Units Cap Units Corner Units (Left/Right)
Top Layer 6
Third Layer 2 4 L OR 4 R
Second Layer 2 4 R 4 L
First Layer 2 4 L 4 R
Completed Dimensions with Cap 59 “L x 35” W x 16 ¾” H
Interior Cap Dimensions 37” L x 13” W
Interior Wall Dimensions 40” L x 16” W


INSTALLATION GUIDE:

Standard Block
Standard Block

Facemix On Front

Right Corner
Right Corner

Facemix on front and right side

Left Corner
Left Corner

Facemix on front and left side

Dorado Wall Installation Step 1
Step 1: Prepare the Trench for Foundation Stone or Road Base
  • Mark the Area: Use stakes and string lines to outline the area where the retaining wall will be built. Ensure the boundaries are straight and match the desired dimensions of the wall.
  • Dig the Trench: Excavate a trench along the marked area. The depth and width of the trench should match the specifications for your retaining wall, typically about 6-12 inches deep and twice the width of the blocks.
  • Ensure a Level Base: The bottom of the trench must be level. Use a leveling tool to ensure precision, as an uneven foundation can compromise the stability of the entire wall.
  • Add Road Base Material: Fill the trench with a layer of road base gravel or crushed stone. Spread the material evenly and compact it thoroughly using a hand tamper or plate compactor. This creates a stable and well-drained base for the retaining wall.
Dorado Wall Installation Step 1 Note
Note: Make sure the spacer bars are facing down
  • Position the First Block: Begin at one end of the trench and place the first retaining wall block on the compacted base. Align it carefully with your marked string line or guide to ensure it is in the correct position. Make sure the spacer bars are facing down
  • Spacer Bar: Each Dorado wall block is designed with spacer bars at the bottom. These spacer bars must always face downward when placing the blocks. This orientation ensures proper alignment and stability between layers, and helps the blocks interlock securely.
  • Before placing each block, double-check that the spacer bars are oriented downward and in contact with the block below. This step is crucial for maintaining the structural integrity of the wall.
Dorado Wall Installation Step 2
Step 2: Lay Down the First Layer and Ensure It Is Level
  • Check for Level: Use a carpenter’s level to check that the block is level in all directions (front-to-back and side-to-side). Adjust by adding or removing small amounts of the base material under the block as needed. This first block is crucial for the entire wall’s stability and alignment.
Dorado Wall Installation Step 3
Step 3: Lay Subsequent Layers and Ensure Proper Alignment
  • Position the Next Row: Start the second row by placing the first block slightly offset from the one below it. This staggered pattern, often called a running bond, adds stability to the wall.
  • Check Alignment: Align each block carefully with the one below, ensuring it sits securely on the lower layer. Push the blocks back slightly to create a slight backward lean (batter), which helps stabilize the wall against pressure.
  • Secure and Level: Use a rubber mallet to gently tap the blocks into place and maintain alignment. Continuously check for level as you go to ensure the wall remains even.
Dorado Wall Installation Step 4
Step 4: Finish the Wall to Your Desired Height
  • Cap the Wall (Optional): If your wall design includes capstones, place them on top of the final row. Apply a landscape block adhesive to the top of the last row and press the capstones firmly into place for a polished, finished look.
  • Backfill and Compact: Once the wall reaches the desired height, backfill the area behind the wall with gravel or drainage material. This helps reduce pressure on the wall and improves drainage. Compact the backfill in layers to ensure stability.
  • Inspect the Wall: Do a final check for any uneven blocks or gaps. Make adjustments if necessary to ensure the wall is level, aligned, and stable.
Dorado Wall Installation Inclination
Inclination of the Wall
  • To ensure stability, the retaining wall should be built with a slight backward tilt. This is known as “batter.” The wall should be inclined at an angle of 2 degrees toward the soil it is retaining. This backward tilt helps counteract the pressure exerted by the soil and improves the wall’s structural integrity.
Newstone Group Logo
Back To Top