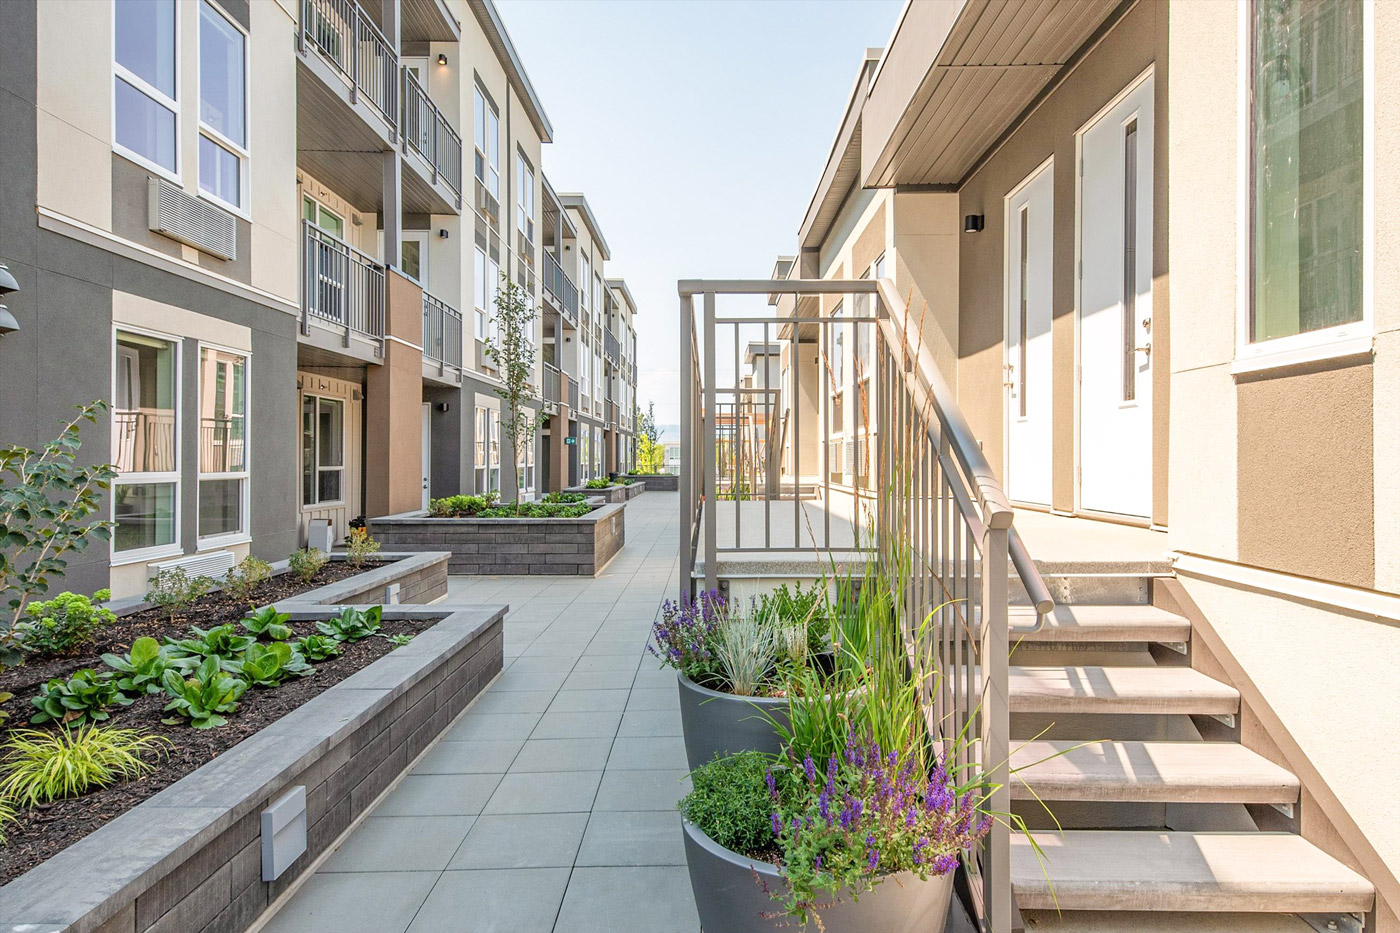
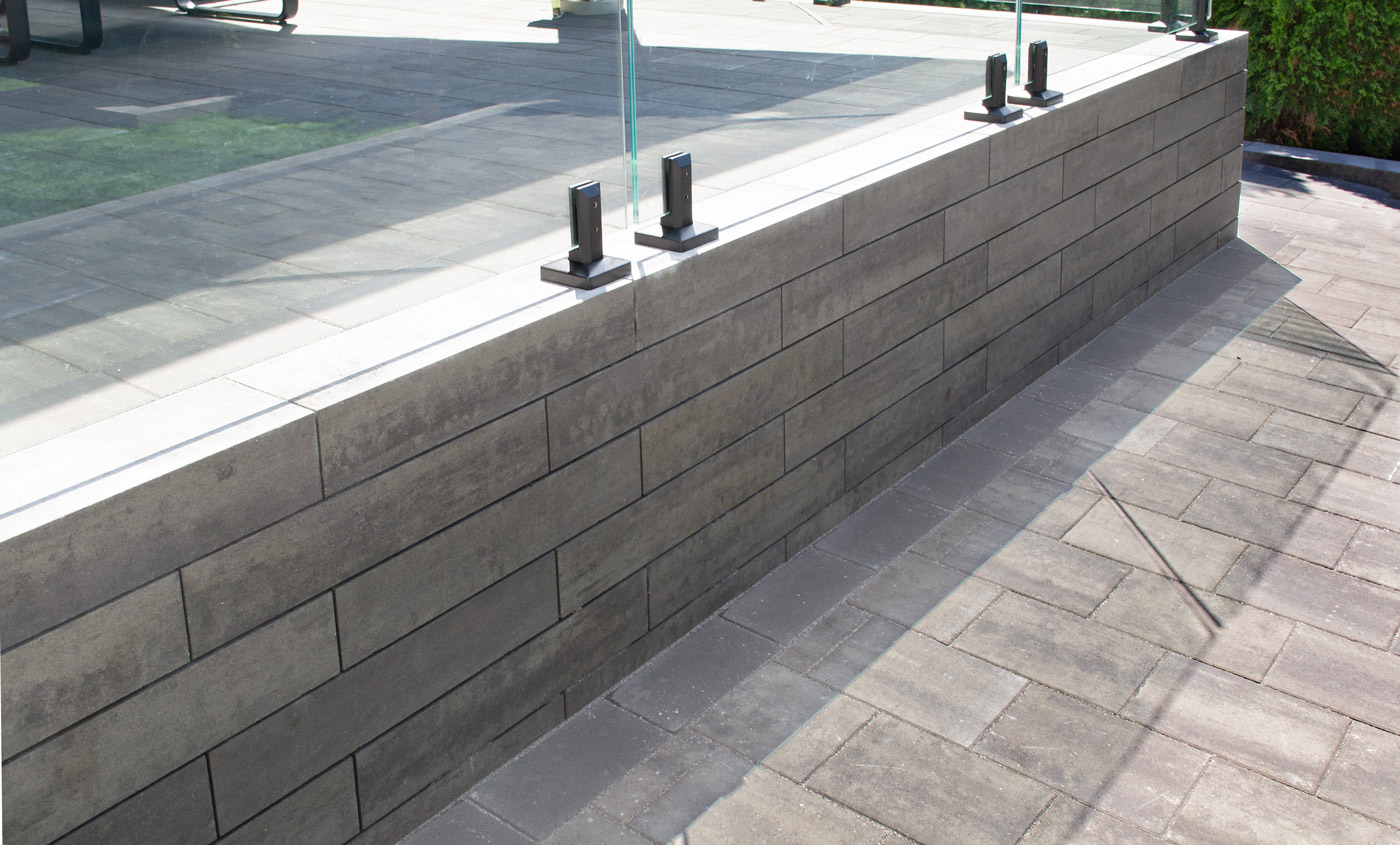
Dorado Wall
Premium Finish Face Mix Technology
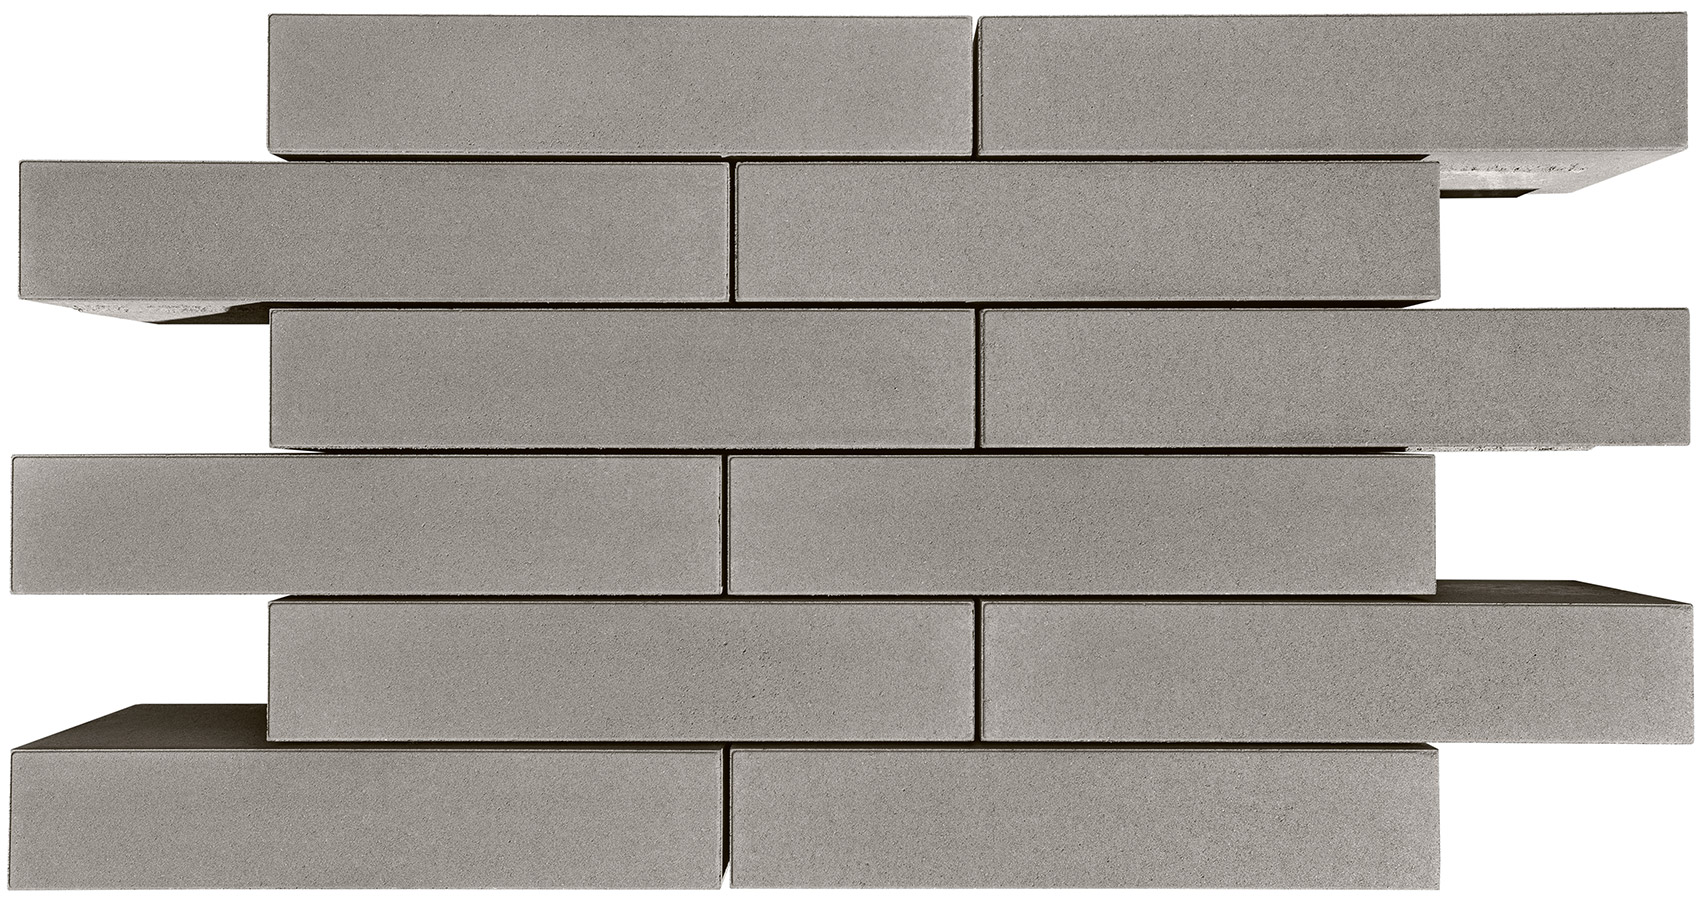
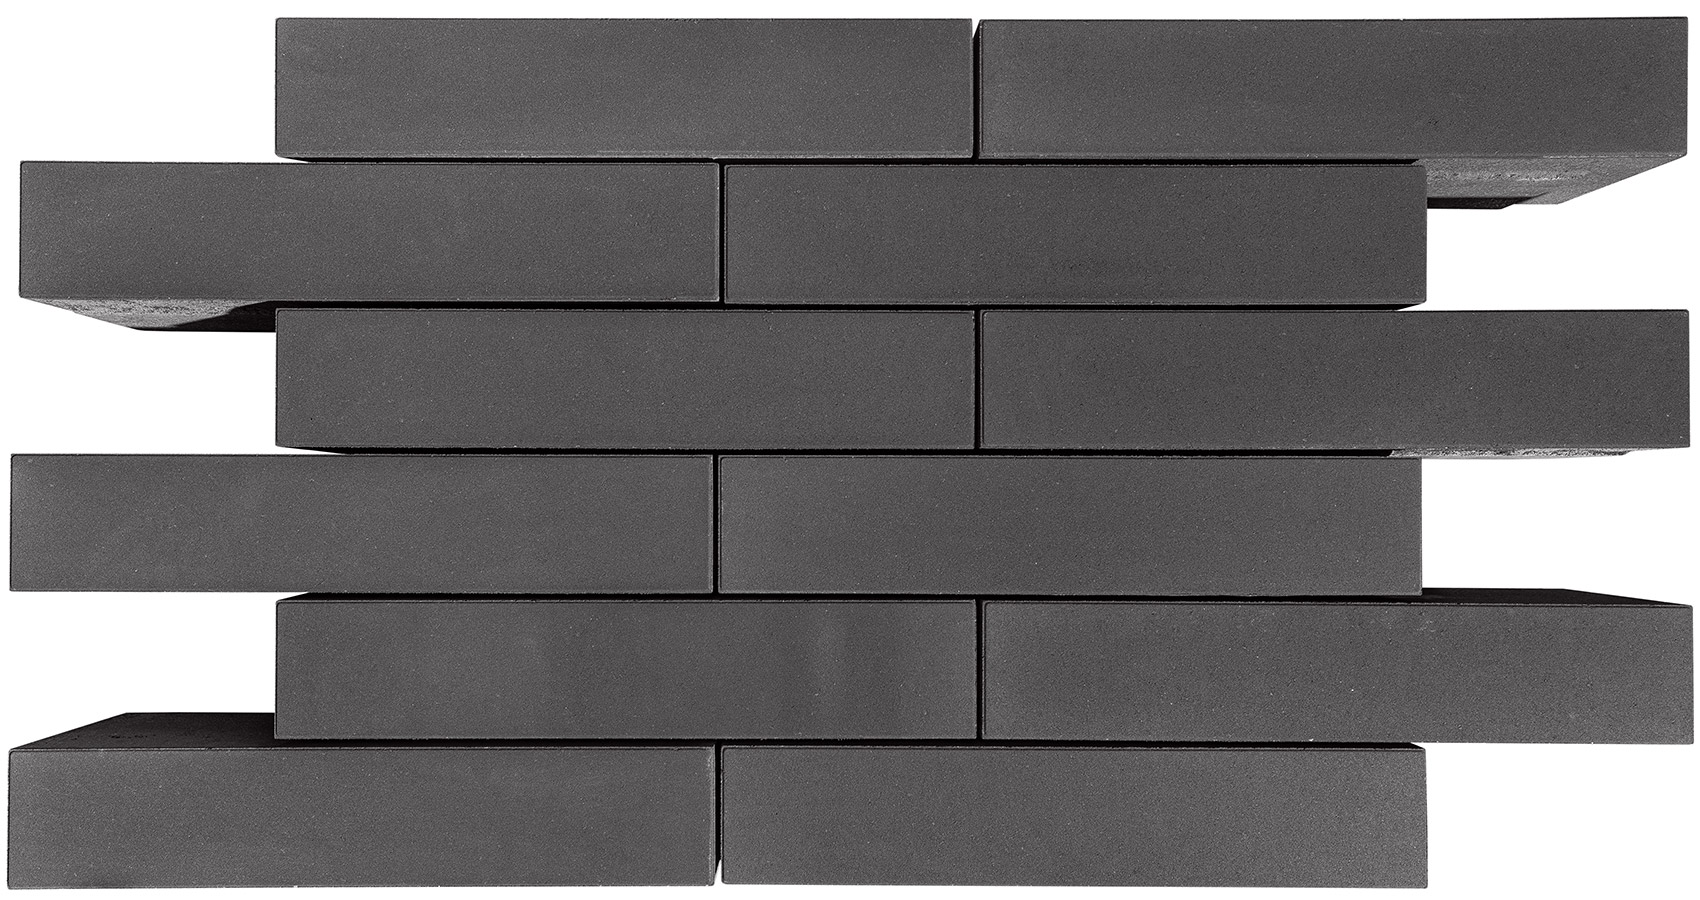
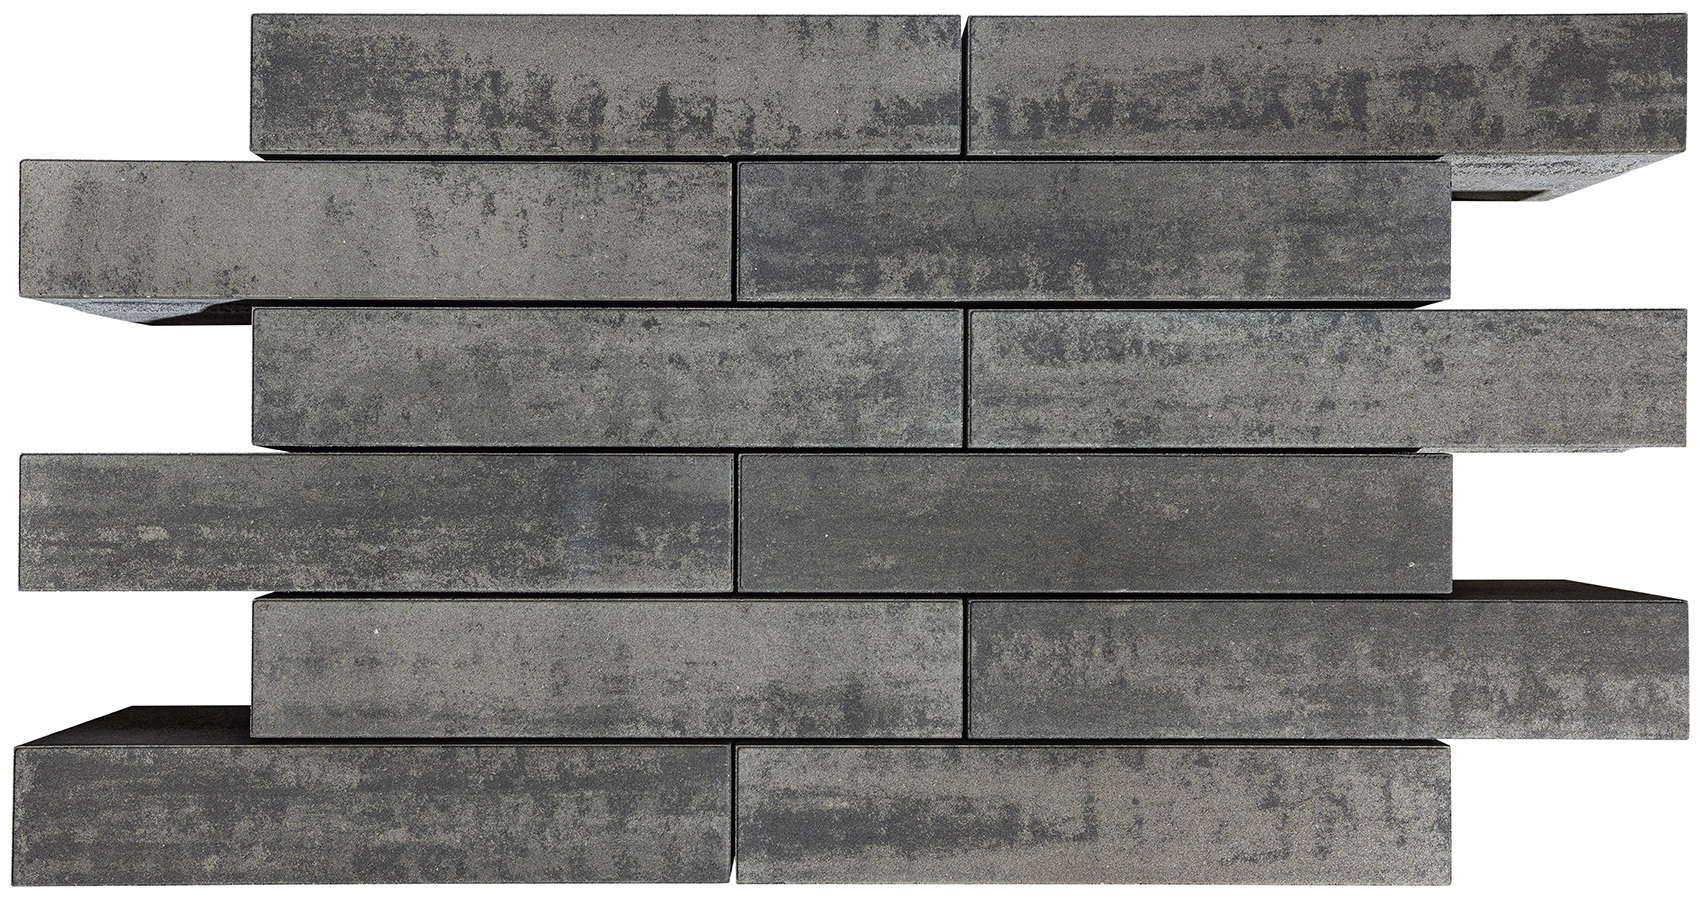
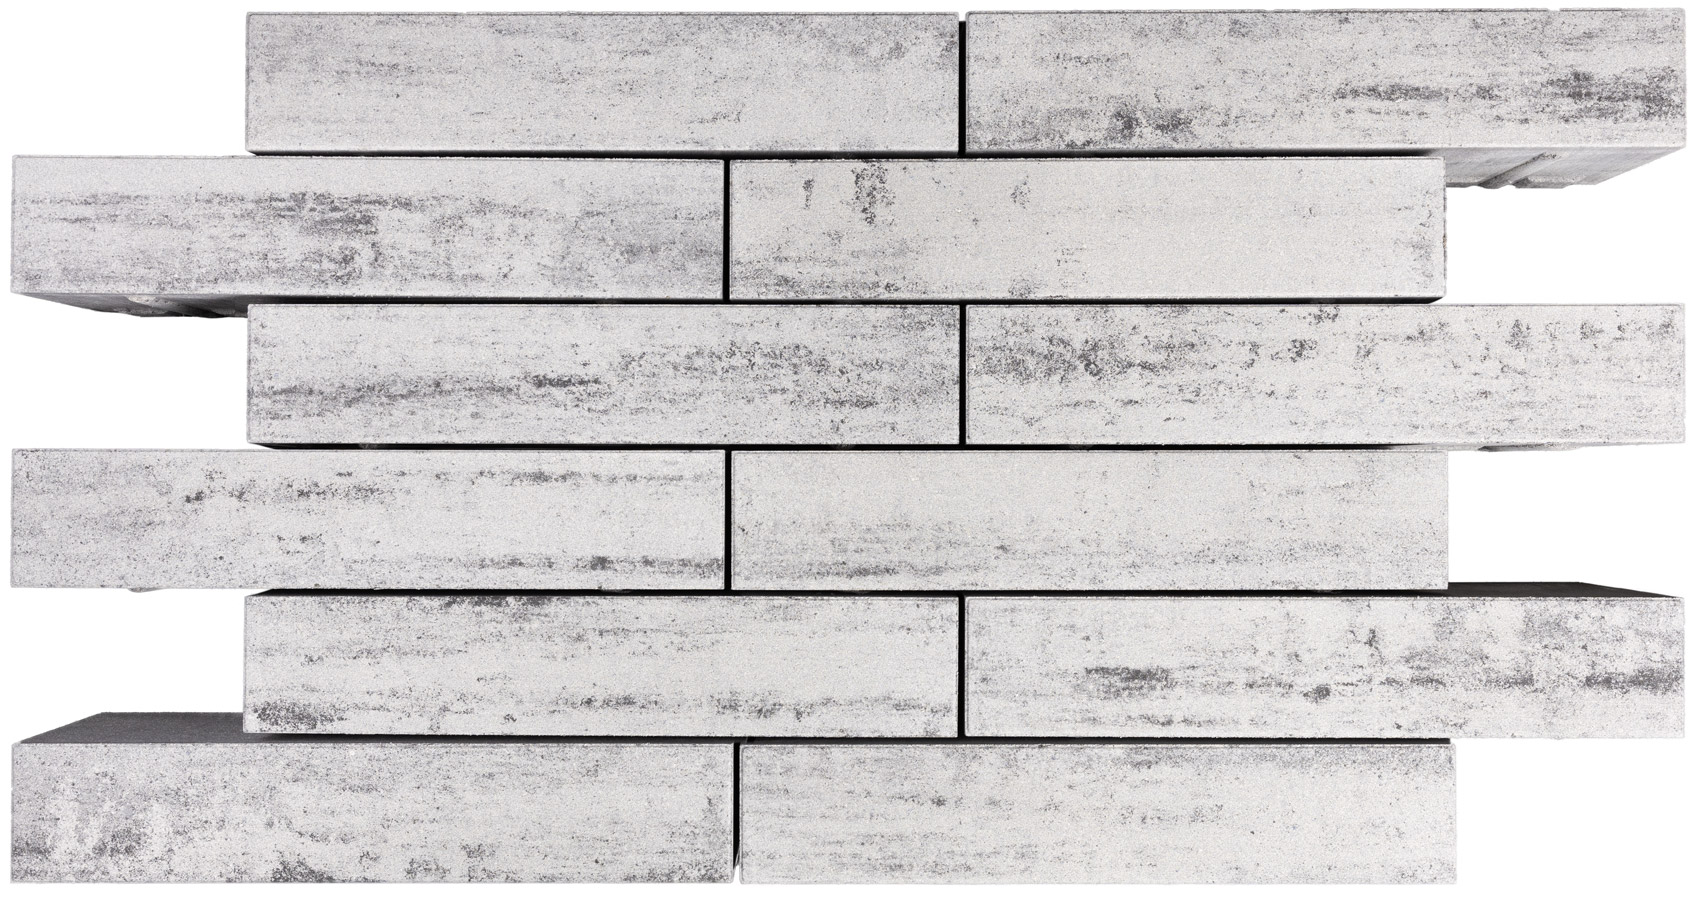
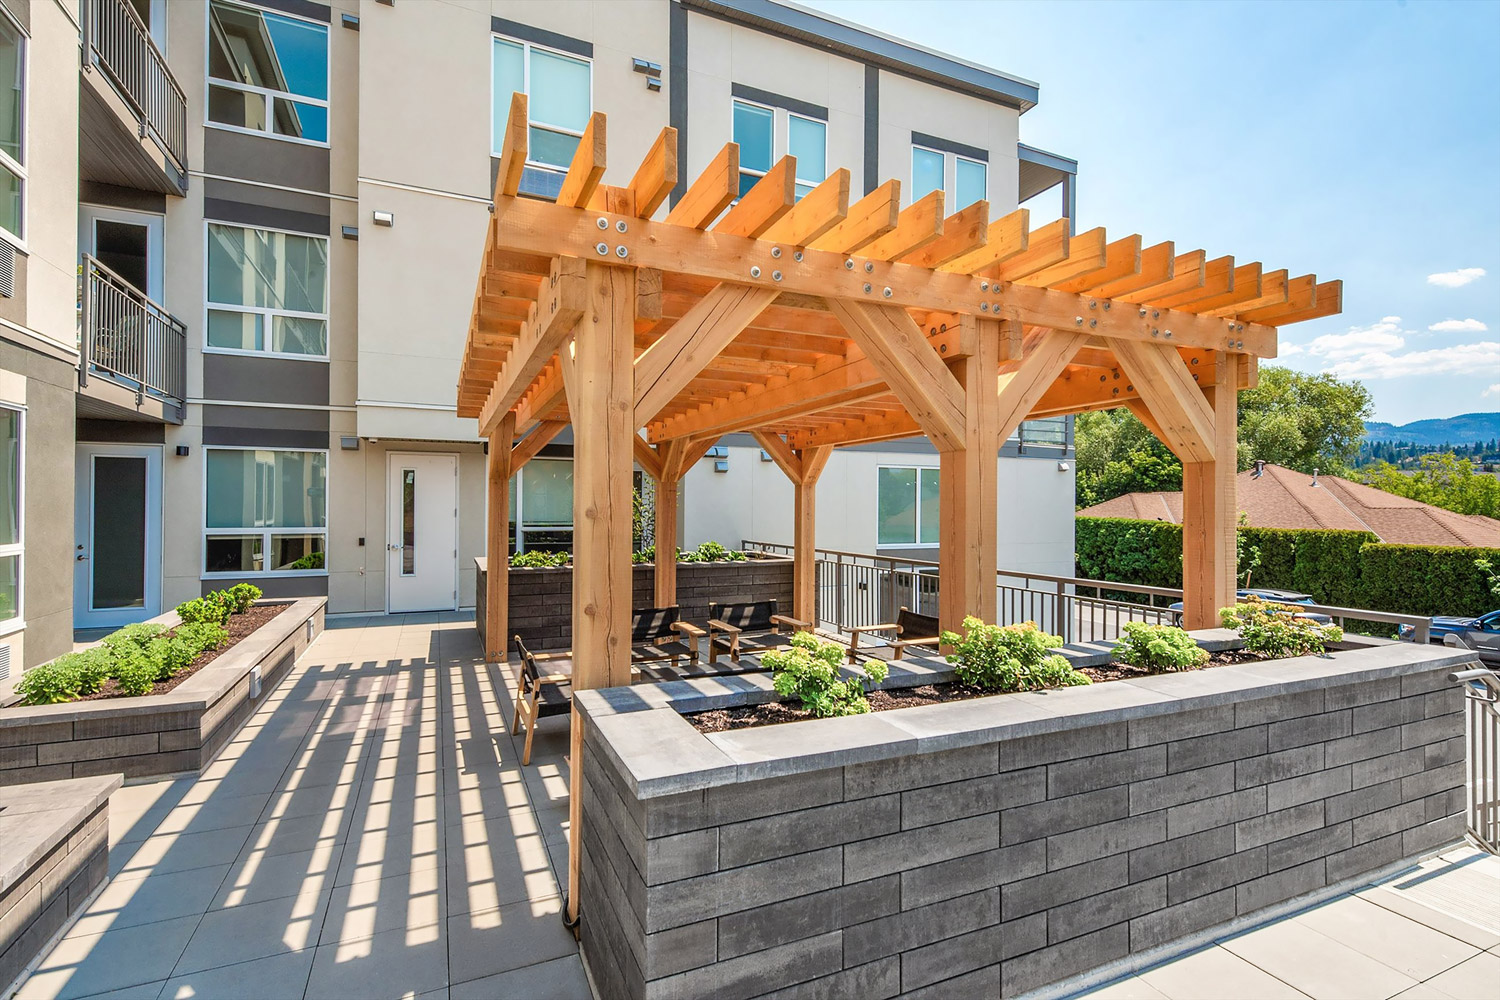
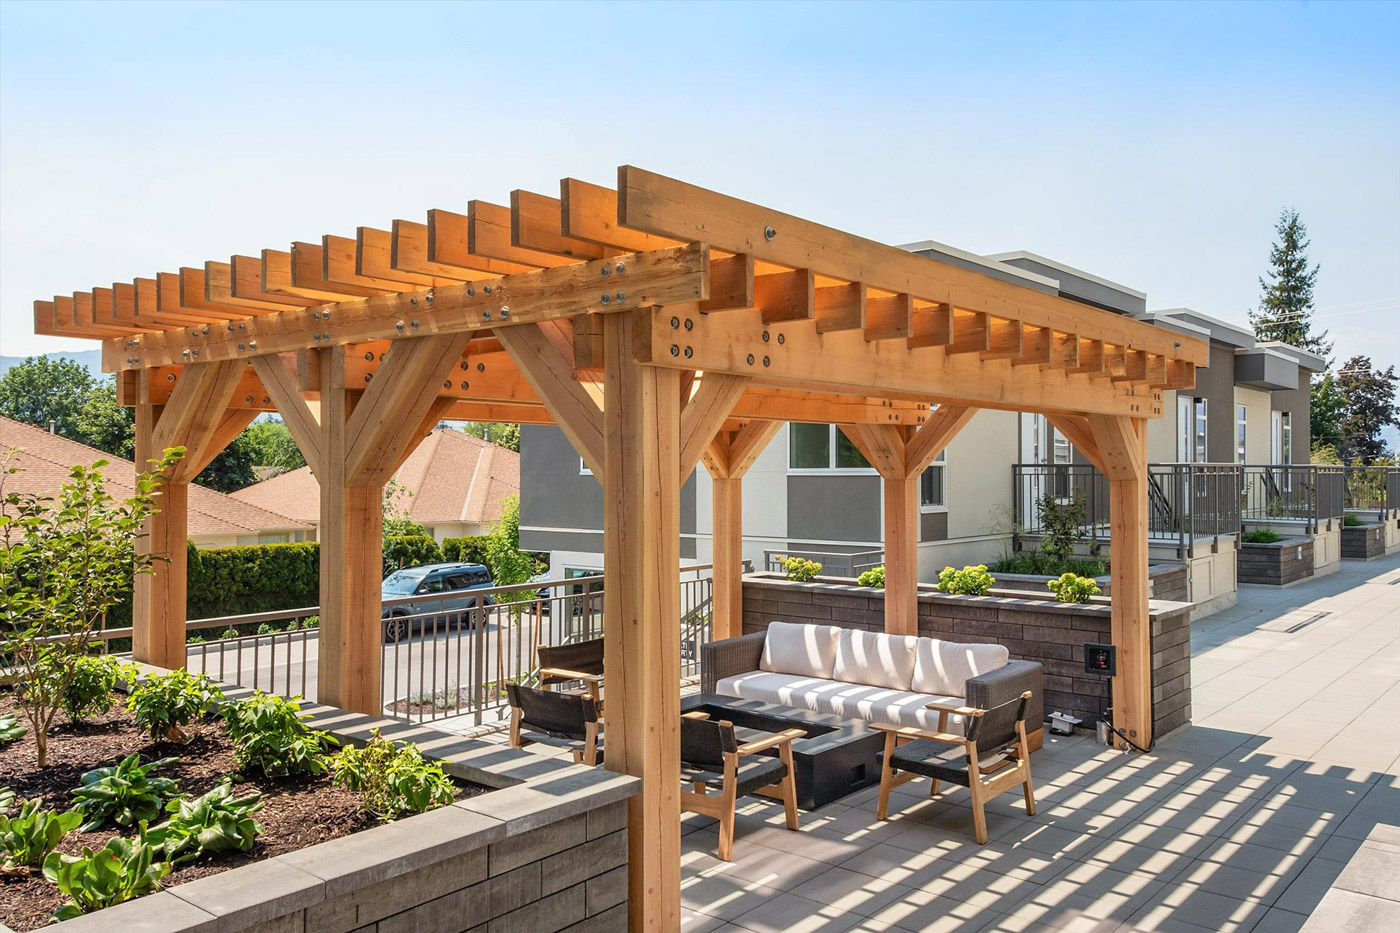
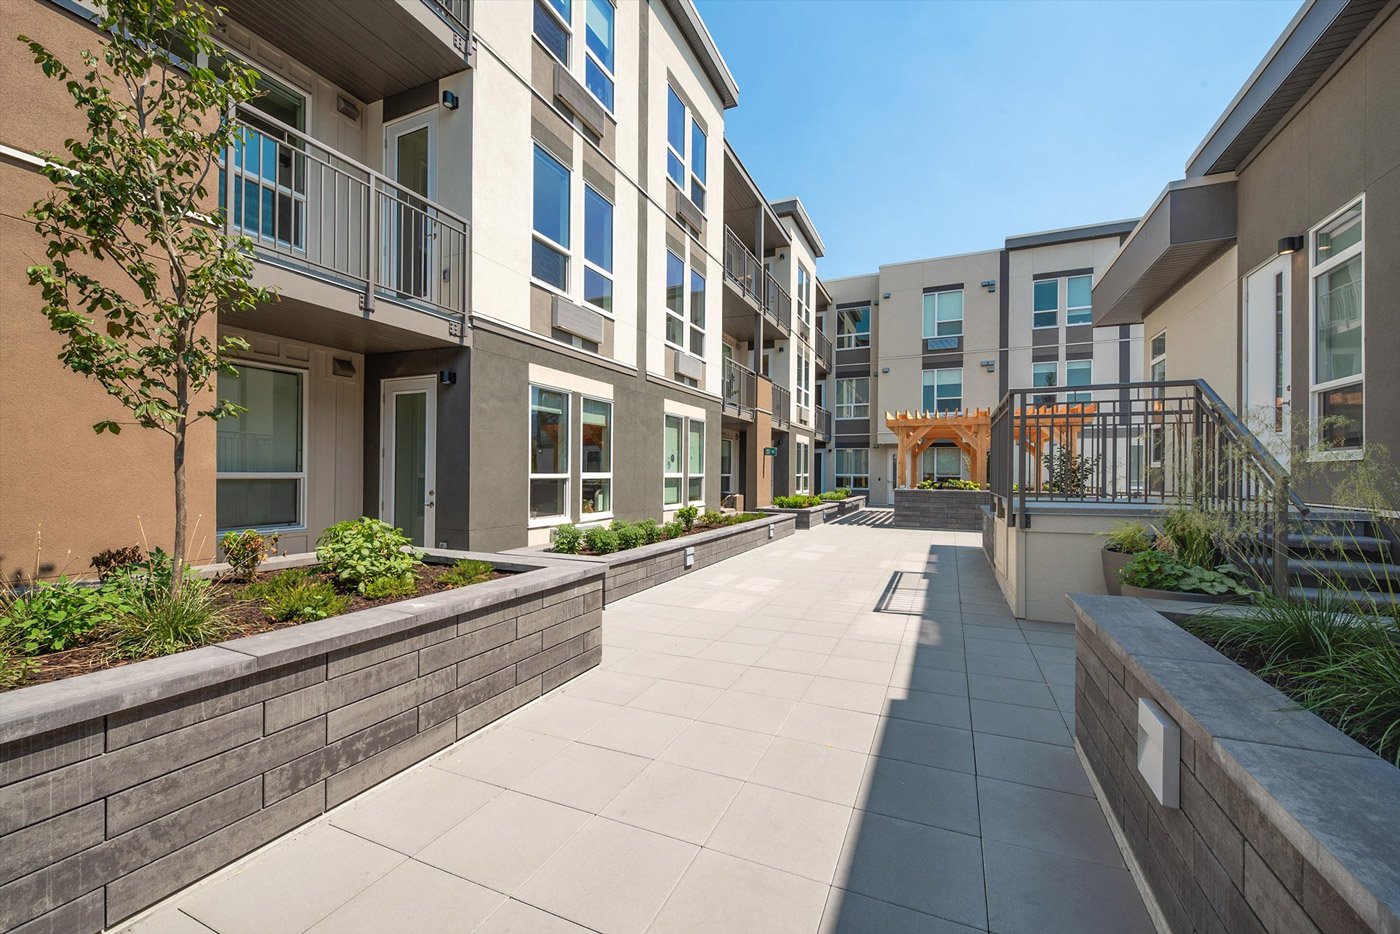
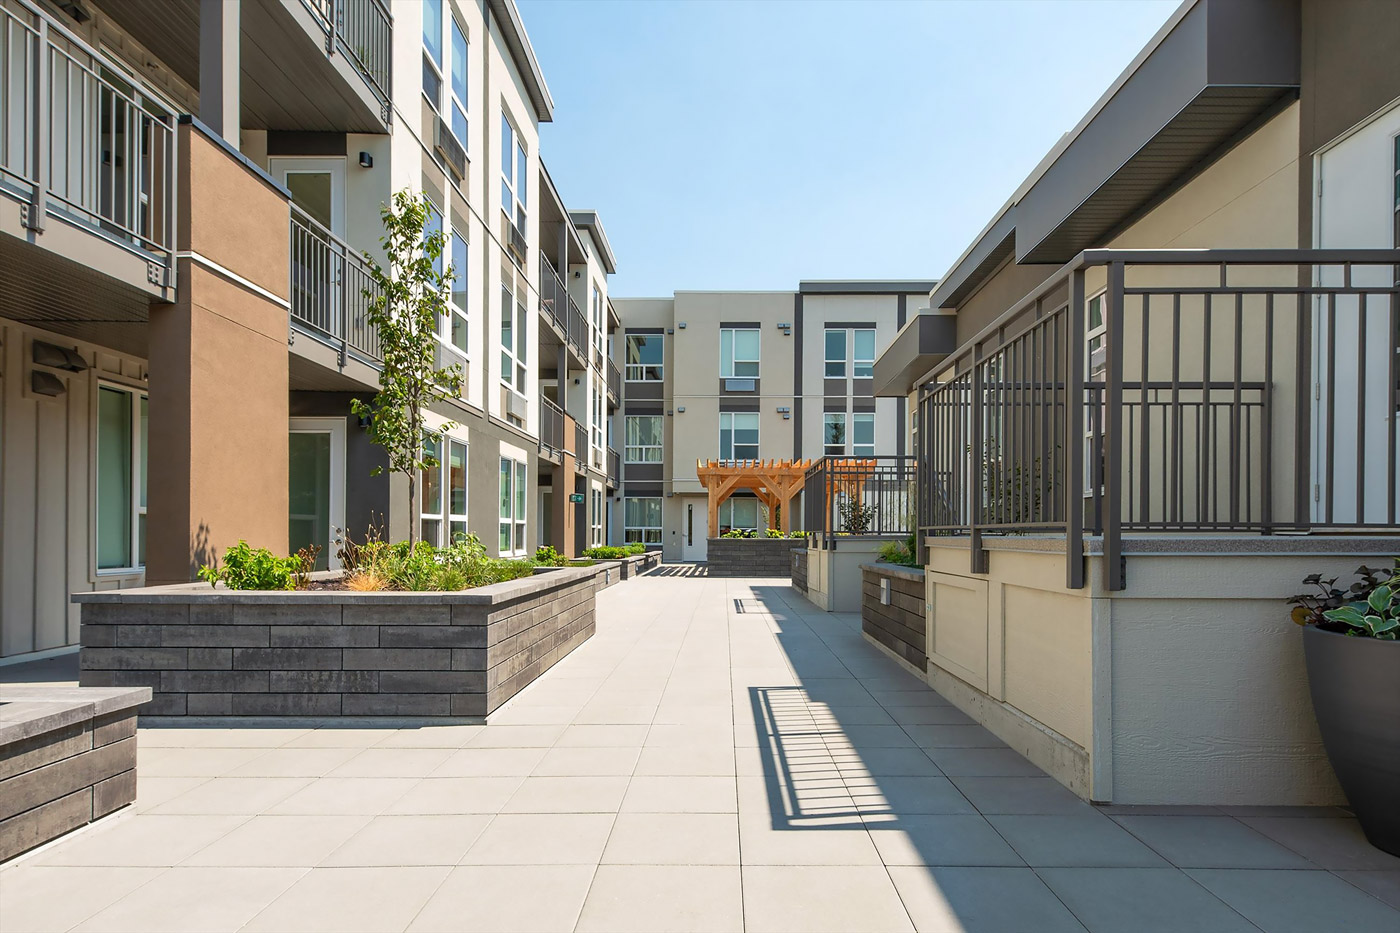
The Dorado Wall is the perfect accompaniment to any modern design with its clean straight lines and rich premium finish face mix. The lineal appearance of the Dorado Wall with its zero setback is unique in a garden wall unit. Installation is simple as there are no pins, lips, or lugs. The Dorado Wall units are adhered to each other using a concrete adhesive attaining a maximum height of 30 inches.
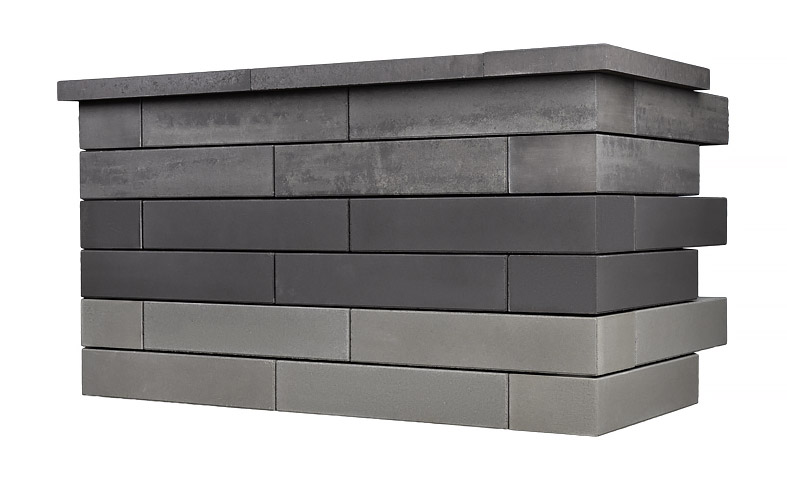
Image shown: Winter Sky | Photo courtesy of Valhalla Hardscapes
SPECIFICATIONS:
Individual Sizes:
| Blocks | Size (in) | Pieces per sq.ft. | Sq.ft. per Pallet | Shipping Weight | PCS / Pallet |
|---|---|---|---|---|---|
| Standard Unit | 8” x 24” x 5” 203mm x 610mm x 127mm | 0.75 | 31.5 | 1460kg / 3220lbs | 42 |
| Corner Unit (L/R) | 8” x 24” x 5” 203mm x 610mm x 127mm | 0.75 | 18 | 835kg / 1840lbs | 24 |
| Cap Unit | 11” x 24” x 2” 279mm x 610mm x 51mm | 0.55 | 81 | 907kg / 2000lbs | 44 |
Sizes for standard unit and corner unit include 5 mm Spacer Bars

